 blog
7 Ways to Maintain Luxury Gel Nails at Home
Table of Contents
- 1. Master the Art of Nail Preparation for Gel Manicure Longevity
- 2. How to Prevent Gel Nail Lifting with Smart Daily Habits
- 3. The Best Cuticle Oil for Gel Nails and Why It Matters
- 4. Gel Manicure Aftercare Tips: Protecting Your Investment
- 5. The Role of Base and Top Coats in a Chip-Resistant Finish
- 6. Post-Removal Recovery: Giving Your Nail Bed a Break
- 7. Tool-Specific Maintenance for At-Home Gel Kits
- Conclusion: Elevating Your At-Home Gel Nail Routine
- Frequently Asked Questions
Last Updated: September 29, 2026
1. Master the Art of Nail Preparation for Gel Manicure Longevity
Gel manicures fail early because of poor prep: gel bonds to your nail plate, and if that bond starts on a rough, oily, or uneven surface, it lifts.
Gentle Buffing and Filing Techniques
Aggressive filing damages the keratin layers that give nails strength; sawing with a coarse file causes peeling and splitting.
- Use a fine-grit file (240 grit or higher)
- File in one direction, not back and forth
- Keep nails dry before filing, since wet nails bend
- Skip metal tools that scrape the nail plate
2. How to Prevent Gel Nail Lifting with Smart Daily Habits
Lifting happens when moisture or oil gets under the gel edge. Once water sneaks beneath the seal, the gel peels up and takes nail layers with it.
Chemical Interaction Awareness: What Actually Degrades a Gel Bond
Most guides say wear gloves and move on, skipping the real question: which chemicals attack the gel, and how? Cured gel resists water and mild soap, but not solvents that swell or soften its polymer network, nor high-pH cleaners that break adhesion at the nail plate.
- Bleach and chlorine (sodium hypochlorite): Common in bathroom sprays, toilet cleaners, and pool water. Repeated contact oxidizes the gel surface, dulling gloss and making the top layer chalky, which then chips at the free edge.
- Ammonia-based glass and floor cleaners: Ammonia is a strong base that creeps under a lifted edge and dissolves the adhesive bond between base coat and nail plate, why lifting often starts at the sidewalls after a cleaning day.
- Acetone and non-acetone removers: Acetone is the standard gel remover, and even brief, repeated contact softens cured gel. Non-acetone removers built on ethyl acetate are gentler on skin but still attack the gel if left on.
- Alcohol-based hand sanitizers and astringents: Ethanol and isopropyl alcohol are less aggressive than acetone, but frequent use dries the cuticle and dulls the top coat.
- Degreasers and paint thinners (mineral spirits, toluene, xylene): The harshest common household solvents, a single splash can soften a gel edge within minutes. Treat them as a hard no-contact category.
Avoiding Water Soaking and Harsh Chemicals
Water is the quiet enemy of manicure longevity. Nails absorb water and swell, then shrink as they dry, and that flexing breaks the gel bond, a long soak stresses the edge, and drying pulls it loose.
- Wear gloves for dishes, cleaning, and gardening
- Keep showers short and lukewarm
- Skip long baths and hot tubs when possible
- Avoid acetone-based polish removers between appointments
Picking and Peeling: The Habit That Undoes Everything
A lifted edge is an invitation. Once a corner catches on fabric, the instinct is to peel it, and that motion can strip the top layers of the nail plate, leaving a thin, painful nail that will not hold product for weeks.
3. The Best Cuticle Oil for Gel Nails and Why It Matters
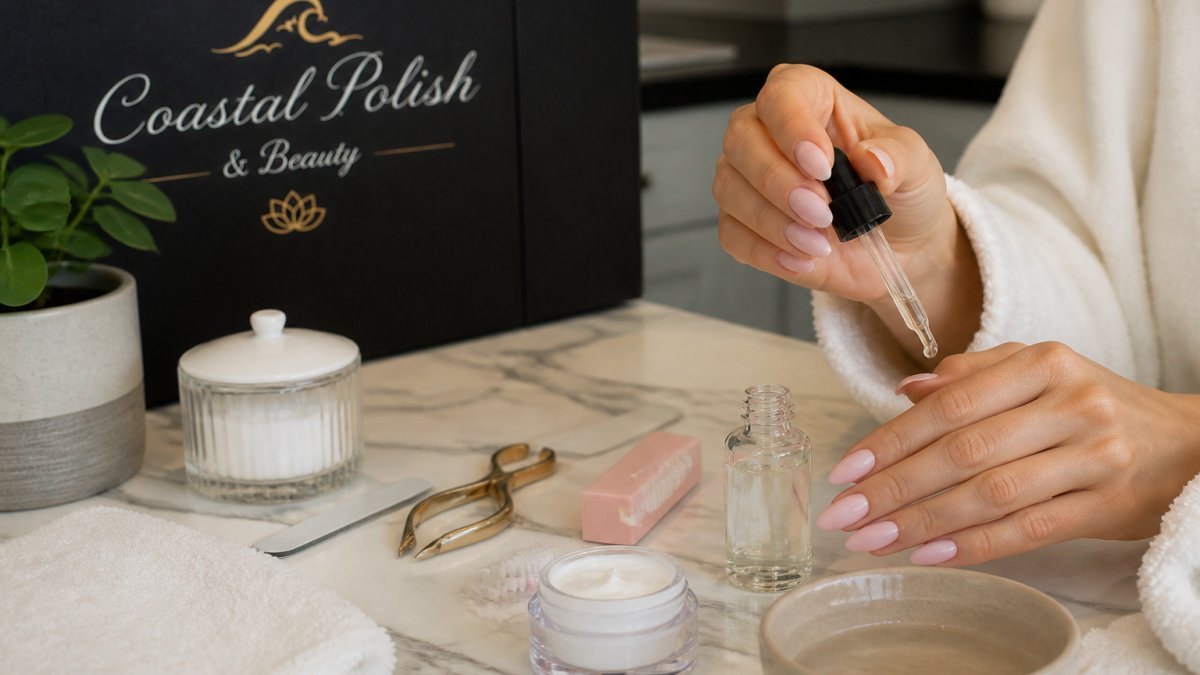
The best cuticle oil for gel nails is built on jojoba or argan oil, since both absorb quickly and mimic your skin's natural oils. Hydration keeps the nail plate flexible so it flexes with the gel instead of cracking.
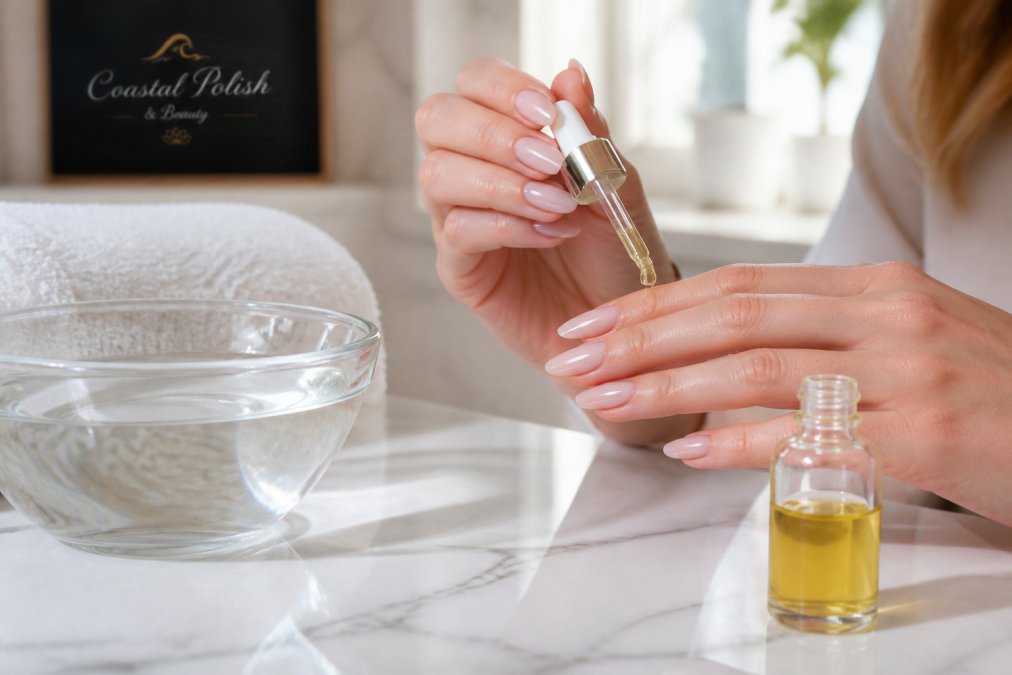
Look for these features:
- Jojoba, argan, or vitamin E as the main oil
- No alcohol or drying additives
- A dropper or brush for precise application
How to Apply Cuticle Oil for Maximum Hydration
Apply oil twice daily, morning and night, one drop per nail. Massage it into the cuticle and surrounding skin, not just the nail.
4. Gel Manicure Aftercare Tips: Protecting Your Investment
Gel manicure aftercare tips come down to one idea: treat your nails like the delicate surface they are. A luxury set costs real money, and a few habits protect that investment.
Wearing Protective Gloves for Household Chores
Protective gloves are the single most effective habit for extending a manicure. Put them on before touching water or cleaning products.
- Use rubber gloves for dishes and mopping
- Wear cotton-lined gloves for dusting and yard work
- Keep a pair by every sink you use often
5. The Role of Base and Top Coats in a Chip-Resistant Finish
A chip-resistant finish depends on two layers most people rush: the base coat, which bonds gel to your nail, and the top coat, which seals it and adds gloss. Skip either and you lose protection, but the type of gel you wear changes what each layer must do.
Soft Gel vs. Hard Gel: Why the Same Advice Does Not Apply to Both
Most at-home guides treat "gel" as one product. It is not. The two main categories behave differently, and maintaining them the same way is a common reason a manicure fails early.
Schedule and Appointment today for 10% Off your service →
- Soft gel (also called soak-off gel): The most common salon and at-home system. It is formulated to be flexible and to break down in acetone for removal, bonds to the nail plate through a base coat, and cures under a UV or LED lamp. Because it is designed to soak off, it is more vulnerable to acetone, alcohol, and solvent exposure during wear.
- Hard gel (also called builder or enhancement gel): A thicker, more rigid gel used for extensions and structured overlays. It does not soak off in acetone, it must be filed off. It resists solvents and daily wear better, but is more brittle at the edges and less forgiving of a weak base bond.
Base Coat: The Adhesion Layer
In a gel system, a base coat is an adhesion promoter, creating a chemical bridge between the keratin of your nail plate and the gel that follows. A base coat made for regular polish will not do the job, because it dries by evaporation rather than curing and cross-linking with a gel color layer.
- Base coat: bonds and protects the nail plate
- Color layers: keep thin, cure fully
- Top coat: seals, adds gloss, resists chips
Top Coat: The Sacrificial Layer
Think of the top coat as a sacrificial layer. It takes the scratches, UV exposure, and daily abrasion so the color underneath does not have to, which is why refreshing it weekly works: you replace the worn layer, not the whole manicure.
- Gloss top coats give the high-shine finish most people want from a luxury set, but show scratches more readily.
- Matte top coats hide fine scratches and look modern, but tend to show oil and lotion residue.
- No-wipe top coats cure to a finished shine without the sticky dispersion layer, saving a step but leaving less room for error if your lamp is weak.
Cure Depth: The Variable Nobody Checks
A gel layer only performs if it cures all the way through. Cure depth depends on your lamp's wavelength, wattage, and layer thickness.
- UV and LED lamps cure at different wavelengths. A gel formulated for LED may not fully cure under an older UV lamp, and vice versa.
- Higher wattage cures faster but does not compensate for a layer that is too thick.
- The free edge and sidewalls cure last because light reaches them at an angle. Turn your hand during curing so every edge gets direct light.
6. Post-Removal Recovery: Giving Your Nail Bed a Break
Your nail bed needs recovery time after every removal. Most guides skip this step, which is why nails get thinner and weaker over months of back-to-back sets.
- Apply cuticle oil daily during the break
- Keep nails short and filed smooth
- Avoid buffing already-thin nails
- Use a strengthening base coat if nails feel weak
7. Tool-Specific Maintenance for At-Home Gel Kits
Your tools need care too, and this is where at-home kits quietly fail. Dirty or worn tools cause uneven curing, lifting, and infection risk.
- Sanitize metal tools with isopropyl alcohol after each use
- Replace worn files and buffers often
- Store brushes tip-up to keep bristles straight
- Check your lamp's wattage against your gel brand's needs
A quick reference for your routine:
| Task | How Often | Why It Matters |
|---|---|---|
| Apply cuticle oil | Twice daily | Keeps nail bed hydrated |
| Wear protective gloves | Every chore | Blocks water and chemicals |
| Refresh top coat | Weekly | Maintains chip-resistant seal |
| Clean tools | After each use | Prevents lifting and infection |
| Nail break between sets | 5-7 days | Lets the nail plate recover |
Conclusion: Elevating Your At-Home Gel Nail Routine
Keeping a gel manicure fresh takes daily habits, not luck. Prep, hydration, gloves, and recovery time do most of the heavy lifting. When you want a flawless set without the guesswork, professional care makes the difference.
Frequently Asked Questions
How do I get my at-home gel nails to last longer?
Start with proper nail preparation: gently buff the nail plate, push back cuticles, and dehydrate the nail bed. Apply a quality base coat, thin color layers, and a top coat, curing each coat fully. Avoid water soaking, wear protective gloves for chores, and apply cuticle oil daily. These steps help prevent lifting and keep your gel manicure chip-resistant for up to three weeks.
What should you avoid doing after getting gel nails?
Avoid soaking your hands in water for long periods, using your nails as tools to open cans or scrape labels, and picking or peeling the gel, which damages the nail plate. Skip harsh acetone-based removers unless you are removing the gel. Also, do not skip cuticle oil, as dehydration leads to lifting and hangnails. Following these gel manicure aftercare tips protects your investment.
How often should you take a break from gel manicures?
Dermatologists often suggest a break every two to three months to let the nail bed recover. If you notice thinning, peeling, or sensitivity, remove the gel and allow your natural nails to rest for a few weeks. During the break, keep nails hydrated with cuticle oil and a strengthening base coat. This post-removal recovery period helps maintain nail integrity.
Can I use regular top coat to refresh my gel manicure?
No, regular top coat does not bond with gel polish and will peel off quickly. To refresh a gel manicure, use a gel top coat and cure it under a UV or LED lamp. If you lack a lamp, a thin layer of gel-effect top coat can add temporary shine, but it will not extend wear. For best results, stick to gel-specific products designed for the curing process.
Maintaining luxury gel nails at home works best when your foundation is strong. If you'd rather leave the prep and precision to experts, Coastal Polish & Beauty offers personalized nail services, premium products, and a clean, calming environment designed around your comfort. Get started with Coastal Polish & Beauty and enjoy nails that stay beautiful for weeks.