 how-to
How to Prevent Gel Manicure Chipping in 2026
Table of Contents
- Why Gel Manicures Chip: The Real Culprits
- How to Prep Nails for Gel Polish: The Foundation
- Base Coat and Capping: Your First Defense Against Chipping
- Curing Lamp Power and Polymerization: Get It Right
- How Long Should a Gel Manicure Last? Setting Expectations
- Daily Habits That Ruin Your Gel Manicure (and What to Do Instead)
- Best Cuticle Oil for Gel Nails: Your Maintenance Secret
- Conclusion: Your Checklist for Chip-Free Gel Nails
- Frequently Asked Questions
Last Updated: September 6, 2026
Few things are more frustrating than watching a fresh gel manicure chip within a week. Gel manicure chipping is rarely a product failure; it is usually a preparation or technique failure that begins before the color touches your nail. This guide breaks down the exact protocols to keep manicures flawless for weeks.
Why Gel Manicures Chip: The Real Culprits
The most common reason a gel manicure chips is poor adhesion at the nail plate. Gel polish needs a perfectly clean, dry, and slightly textured surface to bond to. Natural oils, residual moisture, or a smooth, shiny nail plate will cause the product to lift and peel away from the nail bed.
Another frequent culprit is application error, specifically failing to cap the free edge. The free edge is the tip of your nail; if you don't seal it with each layer of product, it becomes the entry point for water and friction. Think of the manicure as a seal, if the edge is open, the entire structure is compromised. Lifestyle factors like frequent hand washing or using nails as tools accelerate wear, but only if the initial application was already vulnerable.
How to Prep Nails for Gel Polish: The Foundation
Proper nail preparation is the single most important factor in preventing gel manicure chipping. When you understand how to prep nails for gel polish, you transform a manicure from a cosmetic layer into a structural bond.
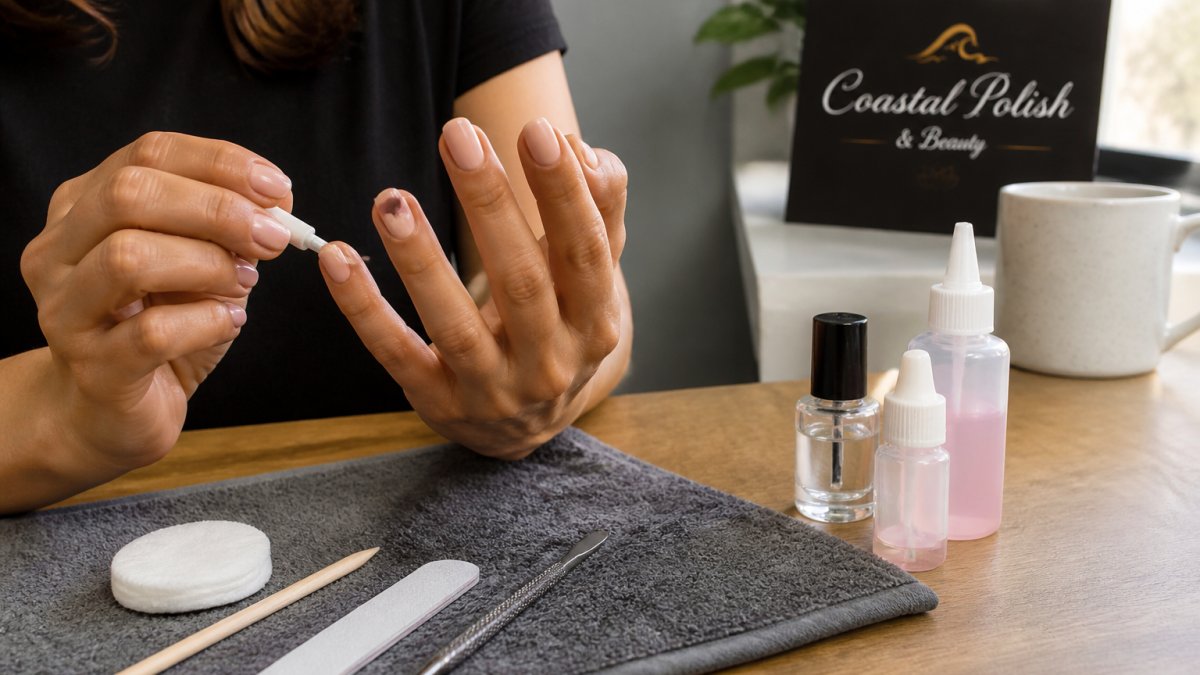
The process begins with gently pushing back the cuticle and removing non-living tissue from the nail plate. Next, buff the nail surface with a fine grit file to remove the natural shine and create microscopic ridges for the gel to grip. Avoid over-buffing, which thins the nail and causes weakness. The goal is a matte finish, not a scratched surface.
The Role of Dehydrator and Acid-Free Primer
After shaping and buffing, the nail plate must be free of all contaminants. Washing hands with soap leaves an oily residue, so we use a dehydrator, typically isopropyl alcohol or a dedicated nail cleanser, applied with lint-free wipes. This removes moisture and oil that would otherwise cause lifting.
Following dehydration, an acid-free primer creates a sticky base layer that enhances adhesion without damaging the nail plate. It acts as double-sided tape between your natural nail and the gel polish. This step is critical for those with naturally oily nail plates, which are more prone to lifting.
Base Coat and Capping: Your First Defense Against Chipping
The base coat is the anchor for the entire manicure. Apply a thin, even layer, avoiding the cuticle area and sidewalls. Product that touches the skin will lift as the skin sheds, taking the manicure with it.
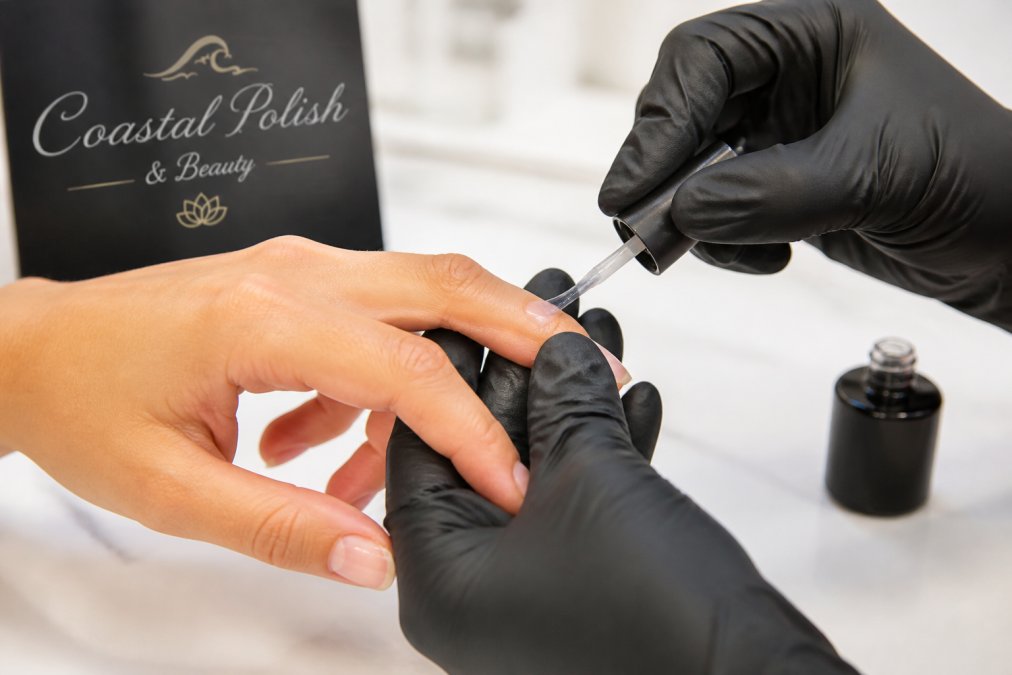
The essential technique here is capping the free edge. After applying the base coat down the center of the nail, drag the brush across the very tip of the nail to seal it. This creates a barrier that prevents water and debris from getting underneath the product. You must repeat this capping motion with every single layer: base coat, each color coat, and the top coat.
Curing Lamp Power and Polymerization: Get It Right
Gel polish hardens through polymerization, a chemical reaction triggered by specific light wavelengths. If the gel is under-cured, it remains soft and prone to chipping. Most guides mention checking wattage, but they miss a critical failure point: lamp degradation.
The Hidden Problem: Aging Bulbs and Under-Curing
A UV/LED lamp that turns on is not necessarily curing correctly. The bulbs (or LEDs) degrade with use, losing intensity over time, a gradual decline, not a binary on/off failure. A lamp that once cured gel in 30 seconds may now require 60 seconds or more, or may never reach the necessary energy output, leaving the bottom layers tacky and soft.
Manufacturers rate lamps for a specific number of hours (often around 10,000 for LEDs, less for older UV bulbs), but this is a theoretical maximum. Frequent on/off cycling, dust, and heat accelerate degradation. A common pattern is chipping after a year of using the same lamp, even though the light appears bright. Track the age of your lamp: if it is over 18-24 months old and you experience sudden, unexplained chipping, replace it before blaming your technique or the polish.
The Chemistry of Curing: More Than Just Time
Polymerization is not just about hitting a timer. The photoinitiators in gel polish absorb specific light wavelengths (typically 365nm and 405nm for LED-curable gels). If your lamp's output has weakened, it may not deliver the right energy for those initiators to react fully. This is why using a lamp from the same brand as your gel is often recommended, the manufacturer has tuned the lamp's output to match their polish formula.
Practical Troubleshooting for Curing Issues
If you suspect under-curing, look for these signs:
- Softness or tackiness: After the recommended cure time, the gel should feel hard. If it still has a 'squishy' feel under gentle pressure, it is under-cured.
- Wrinkling or shrinking: This occurs when the top layer cures faster than the bottom, often due to insufficient lamp power or applying the gel too thickly.
- Chipping at the tip: This is a classic sign of under-curing at the free edge, where the light penetration is weakest.
Always follow the manufacturer's recommended cure time for your specific lamp and gel brand. Do not assume all lamps are equal, a 48-watt lamp is not necessarily more powerful than a newer 36-watt lamp with better reflectors. Also, keep the lamp's surface clean; dust or cured polish residue can block light.
Schedule and Appointment today for 10% Off your service →
The Thickness Trap
Even with a perfect lamp, applying gel too thickly results in under-curing. Light can only penetrate so far; a thick layer cures on top but remains liquid underneath, creating a weak foundation that causes lifting and chipping. Apply thin, even coats, three thin coats are better than two thick ones, so every layer reaches its full polymerized strength.
How Long Should a Gel Manicure Last? Setting Expectations
A properly applied and maintained gel manicure should last two to three weeks without chipping. After this period, the natural nail grows out, and the gap at the cuticle makes the manicure look less fresh, even if the product is still intact.
If your gel manicure chips within the first week or ten days, a foundational step was missed, it is not a matter of the polish being "bad," but of application or aftercare. Setting realistic expectations helps you distinguish a real problem from natural growth. Many clients reach the three-week mark when they follow a strict aftercare routine.
Daily Habits That Ruin Your Gel Manicure (and What to Do Instead)
Your daily routine has a massive impact on how long your manicure survives. The primary enemy of gel polish is moisture: repeated water exposure causes the nail plate to expand and contract, breaking the gel's seal. This is why manicures often fail for parents or those in professions requiring frequent hand washing. But 'wear gloves' is not enough, you need a protocol tailored to your moisture exposure.
High-Moisture Professions: A Specific Protocol
If you work in healthcare, food service, or any role requiring 20+ hand washes a day, your gel manicure faces a unique challenge. The constant wetting and drying is far more aggressive than household chores. Here is a protocol designed for this reality:
- Choose a Water-Resistant Top Coat: Not all top coats are created equal. Look for a 'no-wipe' or 'wipe-resistant' top coat that is specifically marketed for high-durability. These formulas often have a higher cross-link density, making them less permeable to water.
- The 'Dry-Back' Rule: After washing your hands, do not immediately apply lotion or oil. Your nail plate absorbs water, and applying an occlusive product too soon traps that moisture. Pat your hands dry thoroughly, wait 5-10 minutes for the nail plate to fully dry, and then apply cuticle oil.
- Reapply Top Coat as a Sacrificial Layer: For those in high-moisture environments, the top coat is your first line of defense and will wear down faster. Plan to apply a fresh, thin layer of top coat every 3-4 days. This is not a repair; it is a sacrificial layer that takes the brunt of the water exposure, protecting the color and base coat underneath. This simple habit can extend the life of your manicure by a full week.
- Use Nitrile Gloves for Short Tasks: For quick tasks like washing a single dish or handling raw meat, donning a full pair of rubber gloves is impractical. Keep a box of nitrile gloves (the type used in medical settings) near your sink. They are thin enough to allow dexterity and are waterproof, providing a quick barrier for short, wet tasks.
The Solvent Threat Beyond Water
It is not just water that damages gel manicures. Many common products contain solvents that break down the top coat's polymer structure, a chemical attack, not just a physical one.
- Sunscreen: Many chemical sunscreens contain avobenzone or other solvents that can soften gel polish. If you apply sunscreen to your hands, avoid rubbing it directly over the nail. Instead, apply it to your palms and the back of your hands, then gently pat it around the cuticle area.
- Hand Sanitizer: The high alcohol content in hand sanitizer is a powerful solvent. While it evaporates quickly, frequent use can dry out the top coat, making it brittle and prone to cracking. If you use sanitizer frequently, make it a habit to reapply a quick layer of top coat more often.
- Cleaning Products: Bleach, ammonia, and other harsh cleaners are aggressive solvents. This is why wearing gloves for chores is non-negotiable, but it is also why you should never mix cleaning tasks with a fresh manicure. The chemicals can weaken the bond at the free edge, leading to lifting.
The 'Nail as Tool' Reflex
Avoid using your nails as tools to open cans or scrape labels. This prevents micro-fractures in the gel layer, tiny cracks invisible to the naked eye that create pathways for water and bacteria, leading to lifting and peeling days later. Train yourself to reach for a tool, a letter opener, a scraper, a spoon, instead of your nails. This behavioral change is the single most effective way to prevent stress fractures at the free edge.
Best Cuticle Oil for Gel Nails: Your Maintenance Secret
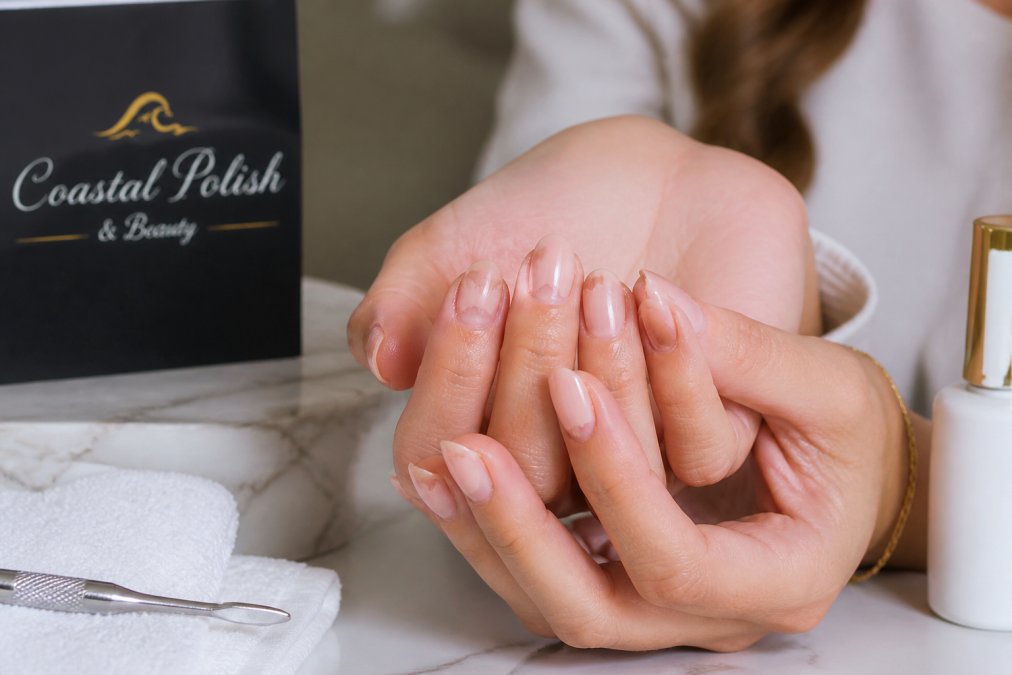
Finding the best cuticle oil for gel nails is about more than hydration; it is about maintaining nail plate flexibility. As the natural nail grows, it needs to stay flexible to prevent breakage and lifting at the cuticle line. A dry, brittle nail is more likely to flex and crack, transferring stress to the gel layer.
Apply cuticle oil at least twice daily, massaging it into the cuticle area and the underside of the free edge. This keeps the skin supple and prevents it from pulling away from the gel. While the oil will not penetrate cured gel polish, it nourishes new nail growth at the base, creating a stronger foundation for your next manicure.
| Maintenance Step | Frequency | Impact on Prevention |
|---|---|---|
| Apply cuticle oil | 2-3 times daily | Keeps nail plate flexible, prevents lifting |
| Wear gloves for chores | Every time | Blocks moisture and harsh chemicals |
| Avoid using nails as tools | Always | Prevents stress fractures at the free edge |
Conclusion: Your Checklist for Chip-Free Gel Nails
Preventing gel manicure chipping comes down to respecting the process, from initial prep to daily habits. A flawless manicure is a combination of expert technique and mindful maintenance. Rushing the prep, skipping the primer, or ignoring the free edge will compromise even the highest quality polish.
The standards upheld at Coastal Polish & Beauty are designed around this precision. Our expert technicians prioritize meticulous nail plate preparation and use premium products. You get a peaceful escape from your busy day and leave with nails that are as durable as they are beautiful. Book your appointment today and experience the difference that personalized, expert-led care makes in your manicure longevity.
Frequently Asked Questions
Why do my gel manicures keep chipping?
Gel manicure chipping usually stems from incomplete nail prep, missed capping, or improper curing. If the nail plate still has oil or moisture, the gel won't bond correctly. Similarly, skipping the dehydrator or acid-free primer allows lifting to start at the cuticle area. Finally, if your curing lamp is weak or aging, the gel won't fully polymerize, leaving it soft and prone to peeling. Review your prep routine and lamp wattage to identify the weak link.
Does capping the free edge prevent gel chipping?
Yes, capping the free edge is one of the most effective ways to prevent gel manicure chipping. This technique involves brushing a thin layer of base coat, color, and top coat over the very tip of the nail, sealing the layers together. Since the free edge is the thinnest part of the nail and takes the most impact, an uncapped edge allows moisture and friction to lift the polish from underneath. Always cap each layer for maximum protection.
How long should a gel manicure last without chipping?
A properly applied gel manicure should last two to three weeks without chipping or lifting. This timeline assumes your nail plate was correctly prepped with a dehydrator and primer, every layer was capped, and the polish was fully cured under a strong UV/LED lamp. Your daily habits also matter: wearing gloves for chores and keeping your cuticles moisturized with oil will help you reach the three-week mark consistently.
What is the best cuticle oil for gel nails?
The best cuticle oil for gel nails is one that contains jojoba oil as a primary ingredient, since its molecular structure closely mimics your skin's natural sebum. Jojoba penetrates the cuticle area and nail bed to keep the tissue flexible, preventing dry cracks that can catch on clothing and trigger lifting. Apply the oil twice daily, massaging it in gently. Avoid letting the oil sit on the nail plate itself, as this creates a barrier that can weaken the gel bond over time.