 how-to
How to Prevent Gel Polish Chipping: 7 Expert Steps
Table of Contents
- Why Gel Polish Chips: Understanding the Root Causes
- Proper Nail Prep for Gel Polish Application
- How to Cap the Free Edge for Maximum Durability
- Apply Thin, Even Layers and Cure Properly
- Post-Application Care: What Not to Do
- Daily Maintenance Habits to Extend Your Manicure
- When to Seek Professional Help
- Conclusion
Why Gel Polish Chips: Understanding the Root Causes
Gel polish chipping frustrates even devoted nail enthusiasts. The culprit isn't always low-quality polish or careless application, it's usually a combination of factors working against adhesion.
The most common reason is improper nail preparation. Your nail plate is naturally oily, and gel polish needs a clean, dehydrated surface to bond effectively. If oils, moisture, or residue remain, the base coat can't form a strong adhesive connection.
Curing time and lamp wattage also play critical roles. Under-cured gel polish hasn't fully polymerized, leaving your manicure vulnerable to lifting and peeling. Thin application layers fail faster than properly built coats because they lack structural integrity.
Post-application habits matter just as much as technique. Exposing wet nails to water immediately after curing, using nails as tools, or neglecting cuticle care all accelerate chipping. Understanding these root causes helps you prevent gel polish chipping before it starts. At Coastal Polish & Beauty, we focus on each of these factors during application and provide guidance on aftercare to extend your manicure's lifespan.
Proper Nail Prep for Gel Polish Application
Proper nail prep is non-negotiable for gel polish longevity. This step determines whether your manicure lasts two weeks or four.
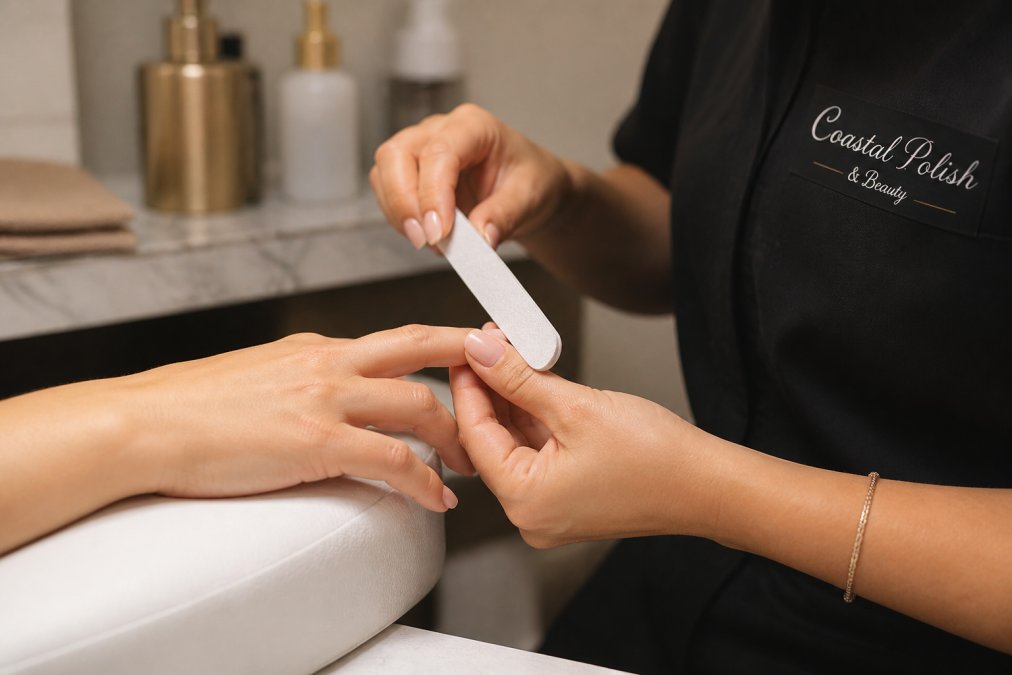
Remove Old Polish and Buff the Nail Surface
Start by removing any old polish completely. Soak your nails in acetone for 10-15 minutes if wearing previous gel polish, then gently scrape away the softened color (peer-reviewed research).
Once old polish is gone, file your nails into your desired shape using a 180-240 grit file. File in one direction from the outer edge toward the center; sawing back and forth causes peeling (the American Academy of Dermatology).
Next, buff the entire nail plate lightly with a 240-400 grit buffer in circular motions. This creates micro-texture, allowing the base coat to grip more effectively. Pay special attention to the free edge by buffing its underside lightly, this capping technique prevents moisture from seeping under the polish.
Cleanse and Dehydrate Your Nails
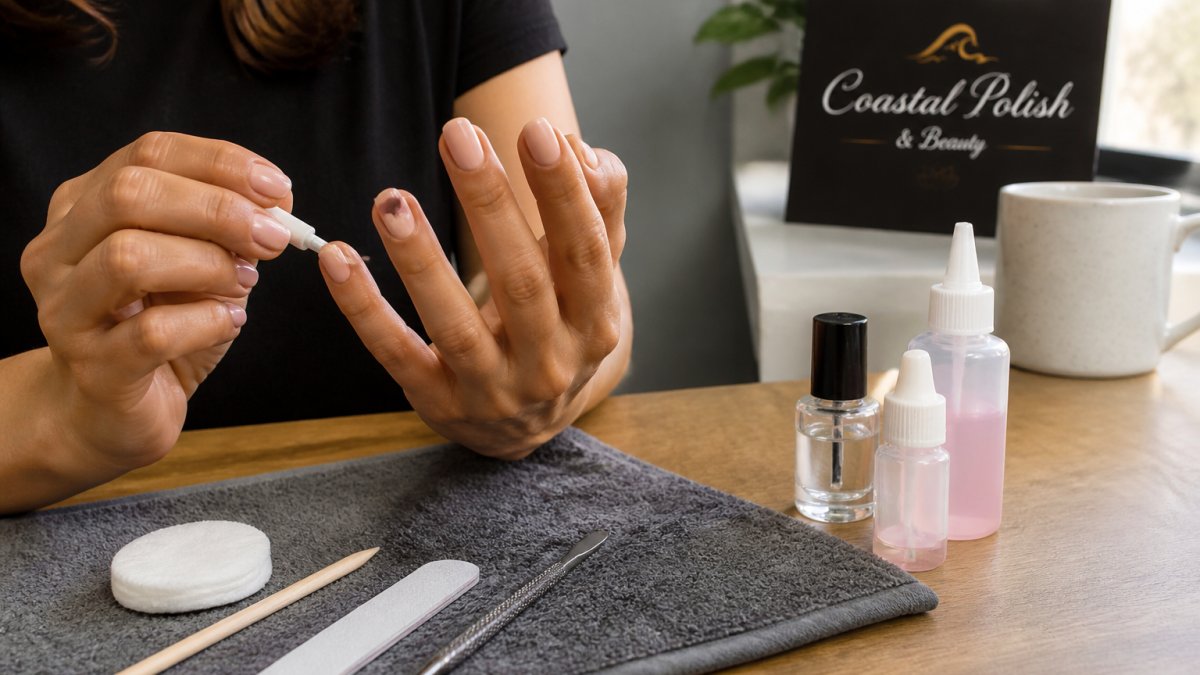
After buffing, cleanse your nails thoroughly using a nail cleanser or isopropyl alcohol on a lint-free pad to remove all dust, oils, and residue. Wipe each nail carefully, including the cuticle area and under the free edge.
Dehydration is equally important. Apply an acid-free primer or dehydrator to chemically prepare the nail surface by removing remaining moisture and oils. Let it dry completely, typically 30-60 seconds, before applying color. This extra layer of protection significantly improves adhesion and reduces chipping risk.
How to Cap the Free Edge for Maximum Durability
Capping the free edge is the technique that separates a manicure lasting two weeks from one lasting four.
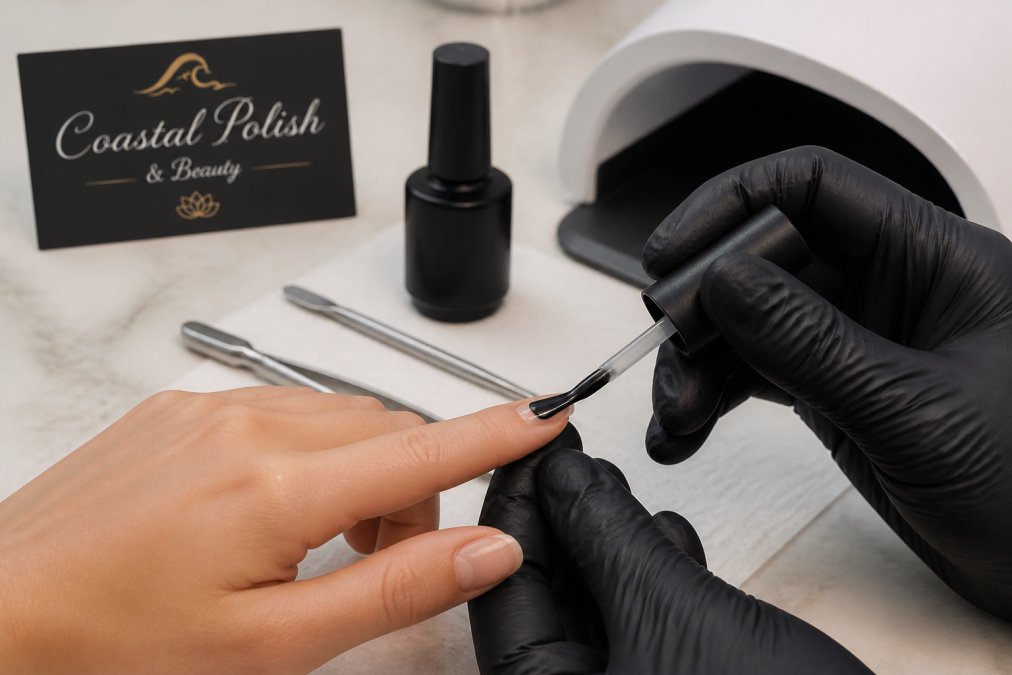
The free edge is the part of your nail extending beyond your fingertip. It's exposed to constant wear, water, and environmental stress. If gel polish doesn't seal this edge completely, moisture creeps underneath and causes lifting and peeling.
When applying your base coat, color, and top coat, paint each layer all the way to the tip of the free edge, wrapping the polish around completely to create a waterproof barrier. Many people apply gel polish only to the top surface, leaving the free edge unsealed, a critical mistake that allows water and oils to break the seal within days.
Apply thin coats on the free edge; thick applications feel bulky and are more prone to chipping. Use light pressure and let each layer cure fully before adding the next. Cure each coat under your UV or LED lamp according to manufacturer's instructions, typically 30-60 seconds. Make sure the final top coat fully seals the edge, creating a smooth, glossy finish that repels water and oils.
Apply Thin, Even Layers and Cure Properly
Thick layers are the enemy of gel polish longevity. Thin, even layers cure more completely and bond more effectively than thick ones.
Base Coat, Color, and Top Coat Technique
Start with your base coat, applying a thin, even layer across the entire nail plate, including the free edge. A thick base coat cures unevenly, creating a weak bond. Use just enough product to cover the nail in one smooth coat.
After the base coat cures, apply your color in thin coats. If you need more opacity, apply two thin coats instead of one thick one. Each thin layer cures fully, creating stronger overall structure. Finish with a thin top coat applied smoothly across the entire nail, including the free edge, and cure it fully.
Curing Time and Lamp Wattage Matters
Curing time directly impacts how long your gel polish lasts. Under-cured gel polish hasn't fully polymerized, resulting in a softer, weaker manicure that chips easily.
Always follow the manufacturer's instructions for your specific product. Most gel polishes cure in 30-60 seconds under an LED lamp or 2-3 minutes under a UV lamp (peer-reviewed research). LED lamps are typically more efficient and cure faster than UV lamps.
Schedule and Appointment today for 10% Off your service →
Lamp wattage matters significantly. A 36-watt LED lamp cures faster and more completely than a 24-watt lamp. If using an older or lower-wattage lamp, increase curing time slightly to ensure full polymerization. At Coastal Polish & Beauty, we use professional-grade lamps calibrated for optimal curing to ensure your gel polish achieves maximum durability.
Post-Application Care: What Not to Do
The first 24 hours after your gel manicure are critical. During this window, the bond between gel polish and nail plate is still strengthening.
Avoid water exposure for at least the first hour after application. Even though gel polish is cured under the lamp, the layers continue to harden slightly over the next few hours. Wear gloves when washing dishes, showering, or cleaning for the first 24 hours if possible.
Don't use your nails as tools. Prying open packages, scraping off stickers, or using nails to dig creates stress that causes lifting or cracking. Use actual tools instead.
Avoid exposing nails to extreme heat immediately after application. Rapid temperature changes can cause the gel polish to expand and contract unevenly, creating micro-fractures. Don't soak nails in hot water or expose them to direct heat sources for at least 24 hours.
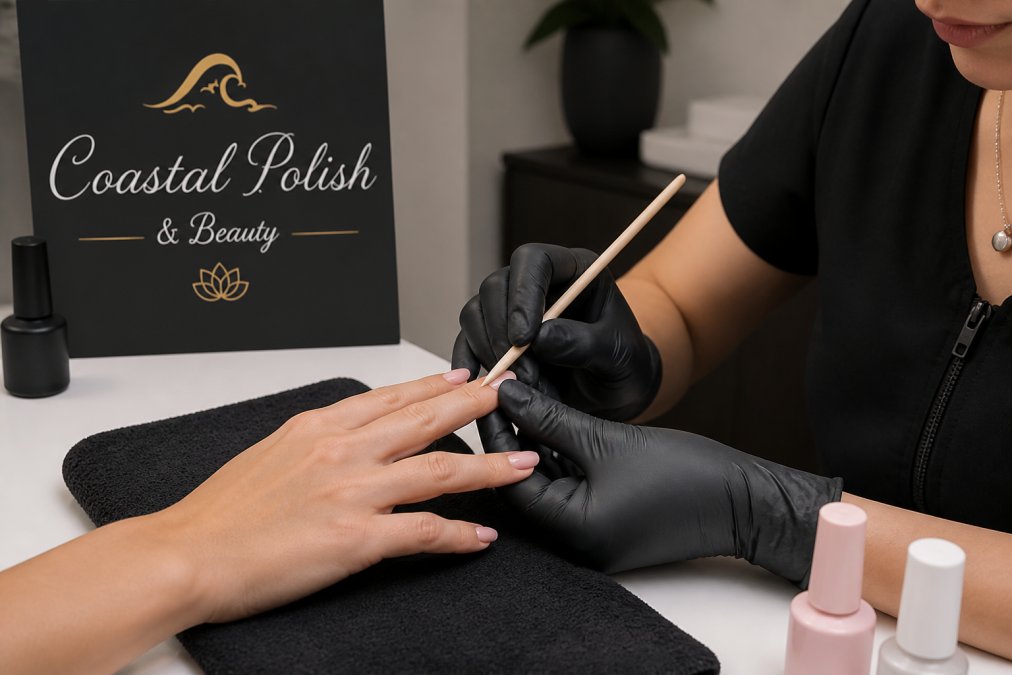
Be gentle with your cuticles during the first week. Aggressive cuticle work can disturb the seal at the cuticle area, allowing moisture to seep under the base coat. Wait at least a week before doing cuticle maintenance.
Daily Maintenance Habits to Extend Your Manicure
Once your gel manicure has set, daily habits determine how long it lasts.
Moisturize your nails and cuticles regularly. Apply cuticle oil or hand cream daily, especially before bed. This keeps the nail plate hydrated, reducing stress on the gel polish bond and supporting stronger nail growth underneath.
Wear gloves when cleaning or doing dishes. Water is one of the biggest threats to gel polish longevity. Cotton-lined gloves protect your manicure while you work, potentially adding a week or more to your manicure's lifespan.
Avoid harsh chemicals and solvents. If using cleaning products, wear gloves. Protect your nails from impact and stress by being mindful of how you're using your hands, especially the first week when the bond is still strengthening.
Keep your hands and nails clean. Gently clean under your nails regularly with a soft brush or the edge of a nail file to prevent buildup and maintain the seal at the free edge.
When to Seek Professional Help
If your gel manicures consistently chip within a week, professional assessment is worth considering. A skilled technician can identify whether the problem is with your nail health, application technique, or aftercare habits.
Some people have naturally oily nail plates that make gel adhesion challenging. Others have thin, brittle nails that don't hold gel polish well. A professional can recognize these factors and recommend solutions tailored to your needs.
At Coastal Polish & Beauty, our expert technicians specialize in identifying why gel polish isn't lasting and providing solutions. We use premium products and professional-grade equipment to ensure your manicure lasts as long as possible. Book an appointment and let our expert technicians show you what proper technique and professional-grade care can deliver.
Frequently Asked Questions
Why is my gel nail polish chipping so easily?
Gel polish chips most often due to improper nail prep, inadequate curing, or weak adhesion between the base coat and the nail plate. If your nails have excess oil production or moisture, the gel won't bond properly. Skipping the dehydrator step or using an acid-free primer incorrectly significantly reduces manicure longevity. Additionally, not capping the free edge leaves the nail tip vulnerable to peeling and chipping, especially with daily wear and hand use.
How long should gel nails last before chipping?
With proper application and maintenance, gel polish should last several weeks before chipping becomes noticeable. However, this depends entirely on your nail prep, curing technique, and daily habits. If you're experiencing chipping after just one or two weeks, your application method likely needs adjustment. The free edge and cuticle area are the first places to show wear, so reinforcing those zones during application directly extends the life of your manicure.
Does capping the free edge actually prevent gel polish from lifting?
Yes. Capping the free edge, applying gel polish to the very tip of the nail, creates a seal that prevents moisture and solvent exposure from breaking down the bond between the gel and nail bed. Without capping, the free edge remains exposed to water, acetone, and daily contact, which leads to peeling and lifting. This single step is one of the most effective ways to prevent gel polish chipping and extend manicure durability.
What's the most important step in preventing gel polish chipping?
Proper nail prep is the foundation. Before any gel touches your nails, you must remove old polish, buff the nail surface to remove shine, cleanse with isopropyl alcohol, and dehydrate to eliminate oil production and moisture. Without this preparation, even perfect application and curing won't prevent chipping because the gel won't form a strong bond with the nail plate. A skilled technician prioritizes prep time because it determines whether your manicure lasts longer.
This article was written using GrandRanker