 how-to
Why Do Gel Manicures Chip Early? How to Fix It
Table of Contents
- The Real Reasons Gel Manicures Chip Before They Should
- Gel Manicure Prep Steps That Determine How Long Polish Lasts
- Capping the Free Edge: The Step Most People Miss
- Curing Time, UV Lamp vs. LED Lamp, and Wattage Depth
- How to Make Gel Nails Last Longer After You Leave the Salon
- Troubleshooting Specific Chip Patterns on Gel Manicures
- Conclusion
Last Updated: August 21, 2026
The Real Reasons Gel Manicures Chip Before They Should
Gel manicures chip early for predictable, identifiable reasons, most have nothing to do with product quality. The culprits are almost always preparation failures, application errors, or post-care habits that undermine adhesion from the start. Gel polish adheres through polymerization, where the formula cures under UV or LED light and forms a hard, cross-linked layer on the nail plate. That bond is only as strong as the surface it attaches to. Anything that disrupts adhesion, oil, moisture, or an improperly prepped surface, will cause the gel to lift, peel, or chip ahead of schedule.
Below, we'll walk through every stage where gel manicures chip early: the biological factors you can't always control, the prep steps that determine longevity before polish is applied, and the post-manicure habits that quietly destroy a perfect set.
Nail Health: How Brittle or Soft Nails Break the Chemical Bond
Nail health is the foundation of manicure longevity. The nail plate is made of keratin, the same structural protein found in hair. When keratin layers are healthy and compact, gel polish has a stable surface to bond with. Brittle nails fracture under pressure, and soft nails bend too easily for the gel layer to hold without lifting.
Brittle nails tend to chip at the free edge because the nail itself fractures before the gel does. Soft nails, often caused by frequent water exposure or over-filing, create a surface that moves independently of the cured gel layer, causing separation within days.
According to American Academy of Dermatology guidance on nail health, keeping nails properly moisturized and avoiding harsh chemical exposure supports stronger keratin structure. A biotin supplement is commonly recommended for brittle nails, though results take several months and should be discussed with a healthcare provider.
Hormonal and Health-Related Factors That Weaken Adhesion
Hormonal fluctuations, particularly those associated with pregnancy, thyroid conditions, or the menstrual cycle, can change oil production in the nail bed and alter the nail plate's texture. Higher oil production creates a barrier between the nail plate and gel formula, making it significantly harder to achieve a lasting bond.
Certain medications, including some antibiotics and chemotherapy drugs, are documented to affect nail plate integrity. If your gel manicures suddenly started chipping after a health or medication change, that connection is worth noting.
If you're experiencing hormonal changes or new health conditions and your gel manicures chip consistently despite good prep, the issue may be systemic rather than technique-related. Informing your nail technician helps them adjust their prep protocol, particularly around dehydration and primer application.
Gel Manicure Prep Steps That Determine How Long Polish Lasts
Prep is where gel manicures are won or lost. A technically perfect polish application on a poorly prepped nail plate will still lift within a week, while a carefully prepped nail can hold gel for three to four weeks even under daily stress.
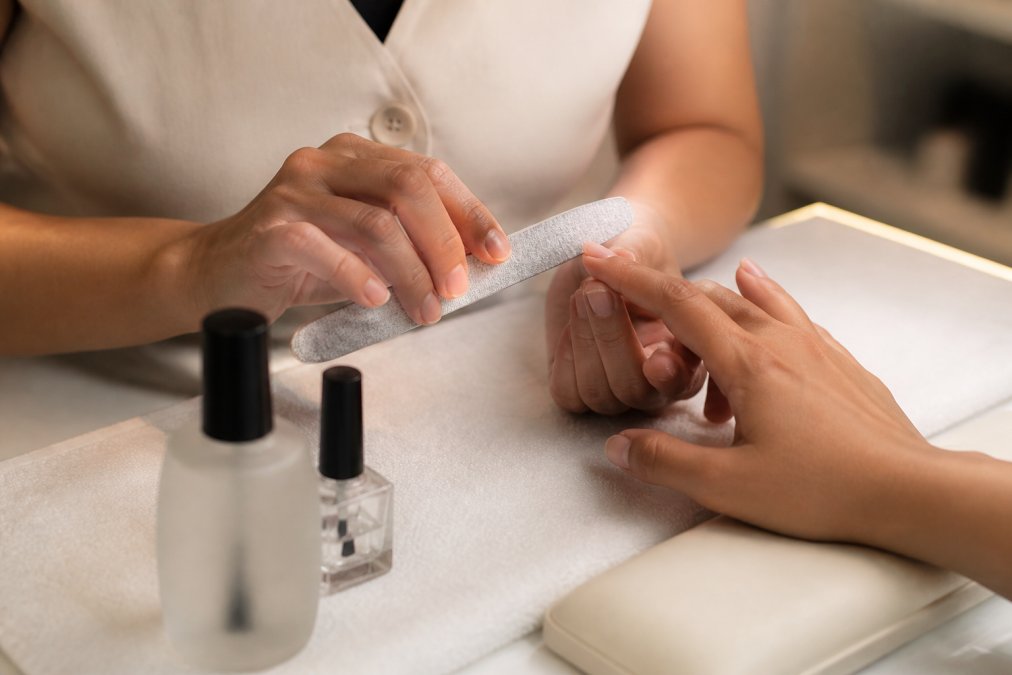
Here's what a proper prep sequence looks like:
- Remove all previous product completely. Residual gel or base coat creates an uneven surface.
- Shape the nail with a grit file. A 180-grit file is standard for natural nails. File in one direction to prevent splitting.
- Push back and clean the cuticle area. Gel applied over cuticle skin will lift almost immediately.
- Buff the nail plate surface. Light buffing with a 220-grit buffer removes shine and creates microscopic texture for grip.
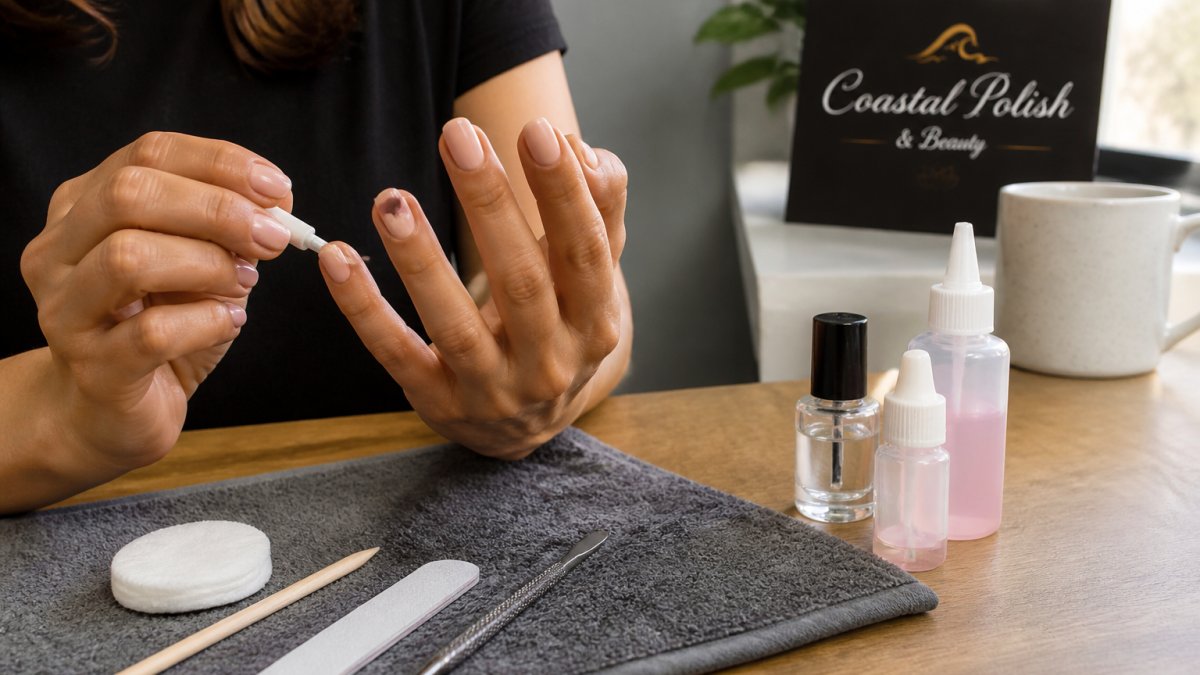
- Apply a dehydrator. This removes surface oils and moisture from the nail plate.
- Apply a primer. Primer creates a chemical bridge between the nail plate and base coat.
- Apply base coat immediately. The window between dehydration and base coat application is short.
Dehydrator and Primer: Why Skipping These Causes Lifting
Dehydrator and primer are the two most commonly skipped steps in at-home gel applications, and skipping them is the single biggest reason gel manicures chip early for DIY applications.
A dehydrator is an acetone-based or alcohol-based solution that strips surface oils and moisture from the nail plate. Without dehydration, the base coat bonds to a slightly oily surface, and that bond will fail under stress.
Primer works differently. Acid-based primers etch the nail plate slightly to improve mechanical adhesion. Acid-free primers use a bonding agent to create a chemical link between the keratin in the nail plate and the gel formula. According to cosmetic chemistry research on nail adhesion and primer chemistry, primer molecules bind to both the nail plate and the base coat, forming a bridge that significantly increases adhesion strength.
Buffing and Shine Removal on the Nail Plate
The nail plate has a natural shine because its surface is smooth. Gel polish needs texture to grip. Buffing with a fine-grit buffer removes that shine and creates a slightly rough surface at the microscopic level.
The common mistake is over-buffing. Buffing too aggressively thins the nail plate and can cause sensitivity during curing. Light, even passes with a 220-grit buffer are all that's needed.
Capping the Free Edge: The Step Most People Miss
Capping the free edge is the single most overlooked step in gel application, and it's the reason so many gel manicures chip at the tips.
The free edge is the tip of the nail that extends beyond the fingertip. It's exposed to constant impact, friction, and flexion stress. If the gel layers aren't sealed at the tip, that exposed edge becomes an entry point for water and mechanical stress, causing the gel to peel back from the tip inward.
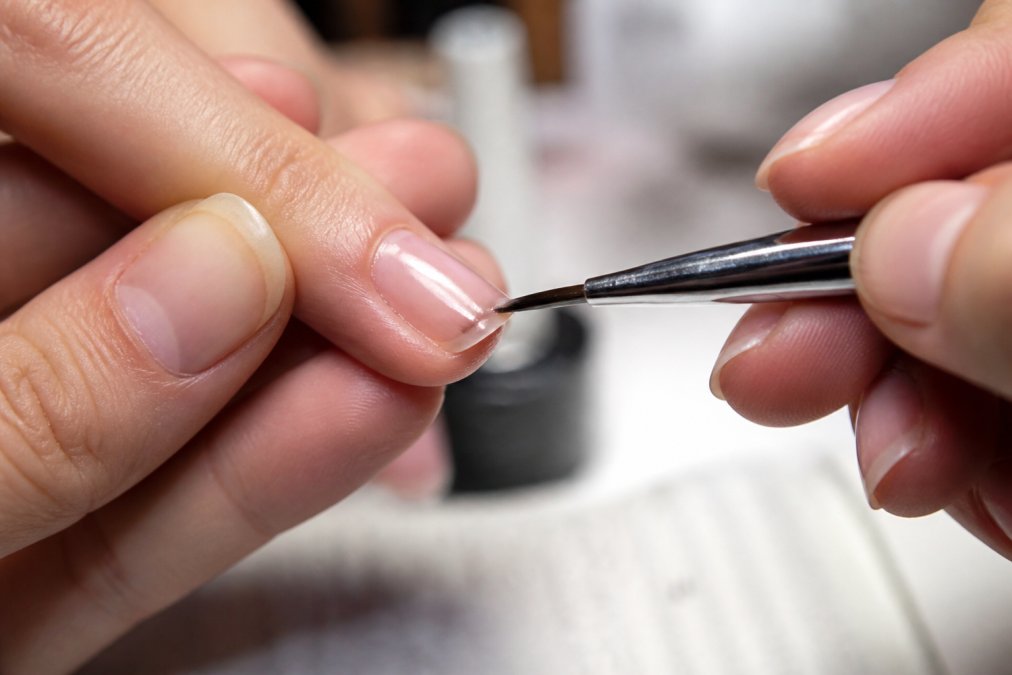
Capping means running the brush along the very tip of the nail at the end of each layer: base coat, color coats, and top coat. The brush should be held nearly horizontal and swept across the edge to seal the gel around the tip. This creates a continuous barrier that prevents the layers from separating at the free edge.
Many people apply their top coat only to the flat surface and stop at the edge, leaving the tip unsealed. Proper capping adds only a few seconds per nail but can extend manicure longevity by a week or more.
Curing Time, UV Lamp vs. LED Lamp, and Wattage Depth
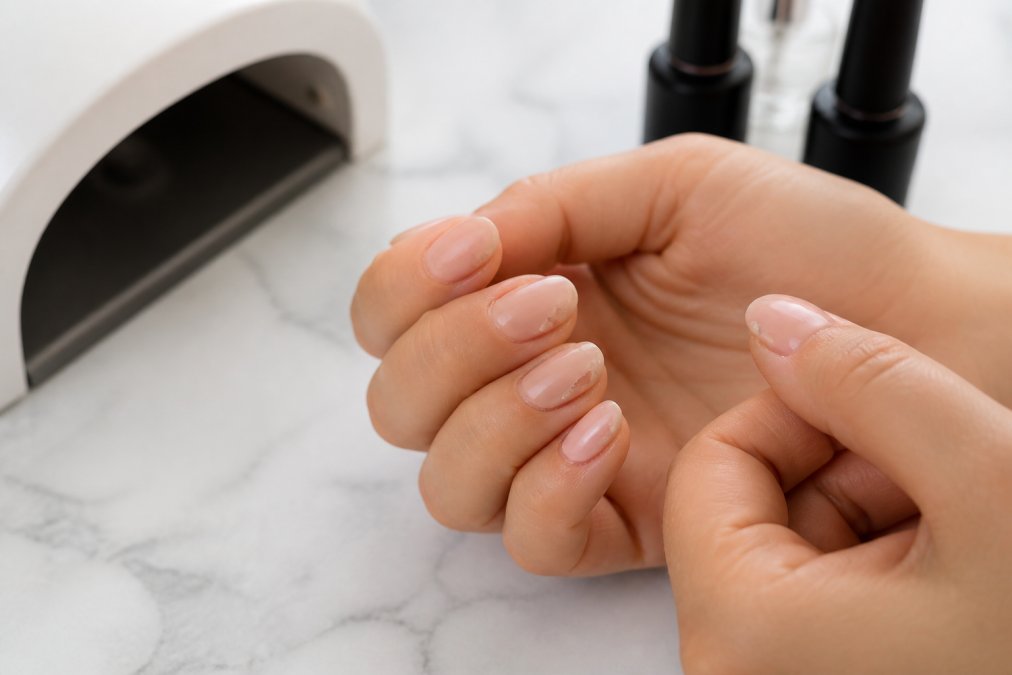
Undercuring is a common reason gel manicures chip early. When gel polish doesn't cure fully, the polymerization process is incomplete. The surface may feel hard, but the layers beneath remain soft and flexible, causing separation under normal use.
UV lamps cure any gel formula but require longer cure times, typically 2 to 3 minutes per layer. LED lamps cure LED-compatible formulas much faster, often in 30 to 60 seconds per layer, because they emit a narrower wavelength that matches the photoinitiators in the gel formula.
Wattage affects depth. A lower-wattage LED lamp may cure the surface of a thick gel layer while leaving the base undercured. This is particularly common when gel is applied too thickly.
According to photopolymer curing research on UV and LED nail lamp efficacy, lamp wattage and spectral output both influence curing depth. The practical implications:
- Match your gel formula to your lamp type. Not all gel polishes are compatible with LED lamps.
- Apply thin, even layers. Two thin coats cure more completely than one thick coat.
- Cure each layer for the full recommended time.
- Replace lamp bulbs regularly. UV bulbs lose intensity over time.
How to Make Gel Nails Last Longer After You Leave the Salon
Post-application behavior in the first 24 to 48 hours, and throughout the wear period, significantly affects how long gel polish holds. How to make gel nails last longer is largely a question of what you stop doing.
Post-Manicure Habits That Cause Early Chipping
The biggest post-manicure mistake is using nails as tools. Opening packages, prying lids, scraping surfaces: these actions concentrate stress at the free edge and tip, exactly where gel adhesion is most vulnerable. Using the pads of your fingers instead of the tips extends manicure longevity noticeably.
Filing gel nails with a back-and-forth sawing motion creates micro-fractures at the free edge that propagate into full chips. If you need to shorten gel nails between appointments, use a fine-grit file and move in one direction only.
Picking at lifting gel is the fastest way to damage both the manicure and the nail plate beneath it. When gel lifts, it takes a thin layer of nail plate with it if pulled off.
| Post-Manicure Habit | Effect on Gel Adhesion | Better Alternative |
|---|---|---|
| Using nails to open packaging | Stress fractures at free edge | Use a tool or fingertip pad |
| Back-and-forth filing | Micro-fractures at tip | File in one direction only |
| Picking at lifted gel | Removes nail plate layers | See your technician for removal |
| Skipping gloves for cleaning | Chemical and moisture damage | Wear rubber gloves |
| Cutting gel nails with clippers | Shatters gel layer | File down instead |
Moisture, Oil Production, and Environmental Factors
Water is gel's primary enemy. Repeated soaking causes the nail plate to expand and contract, and because gel doesn't flex at the same rate as the natural nail, that mismatch creates separation. Dishwashing, long baths, and swimming are all high-risk activities.
Wearing rubber gloves for wet work is the most effective single habit for extending gel wear. It takes about three seconds to put gloves on and can add days to your manicure.
High oil production means the dehydration step at prep is more critical. Apply cuticle oil to the skin around the nail, not the nail surface itself, to avoid working it under the gel layer.
Environmental factors like low humidity and cold temperatures can cause the nail plate to become more brittle, increasing tip chipping. Conversely, very hot and humid conditions can increase oil production and moisture exposure.
Troubleshooting Specific Chip Patterns on Gel Manicures
Where your gel chips tells you exactly what went wrong.
Chipping at the tips only: Almost always a capping failure. The gel layers weren't sealed at the free edge. Fix: cap every layer including the top coat, and recap the top coat every five to seven days.
Lifting at the cuticle area: The cuticle area wasn't fully cleaned before application, or gel was applied onto skin rather than nail plate. Fix: ensure the cuticle area is completely clear and dry before base coat application.
Peeling in sheets: Usually indicates a dehydrator or primer was skipped, or the base coat wasn't cured fully. The entire gel layer separates because it never bonded to the nail plate. Fix: reintroduce dehydrator and primer, and cure each layer completely.
Random chips mid-plate: Often a product compatibility issue. Not all base coats, color gels, and top coats bond well across different brands. Fix: use a complete system from one brand, or verify compatibility before mixing.
Chipping on specific fingers only: The index finger and thumb take the most mechanical stress in daily tasks. If chipping is concentrated there, it's a use pattern issue. Fix: be more conscious of how those fingers contact surfaces, and apply an extra layer of top coat to high-stress nails.
According to nail care and manicure longevity guidance from the American Academy of Dermatology, gel manicures that are properly applied and maintained can last two to three weeks without significant chipping, and proper removal is as important as proper application for protecting long-term nail plate health.
Gel manicures chip early because adhesion is a chain: every link has to hold. Coastal Polish & Beauty's approach to nail services is built around that reality. If you've been frustrated by short-lived gel manicures, the answer is almost always in the details: a missed dehydration step, an uncapped free edge, or a lamp that isn't delivering the cure your formula needs. Book your next appointment with us and experience the difference that careful, expert-led preparation makes.
Frequently Asked Questions
Q: How long should a gel manicure last before chipping?
A: A properly applied gel manicure should last two to three weeks without chipping, and up to four weeks with good aftercare habits. Early chipping before the two-week mark almost always points to a prep issue: insufficient dehydration of the nail plate, skipped primer, inadequate curing time, or not capping the free edge. Nail health also plays a role, brittle or soft nails tend to flex more, which breaks the chemical bond between the gel polish and the keratin surface faster.
Q: Does nail prep affect how long gel polish lasts?
A: Nail prep is the single biggest factor in gel manicure longevity. Oil, moisture, and residue on the nail plate prevent the base coat from forming a proper chemical bond. A thorough prep sequence, removing shine with a grit file, applying a dehydrator to strip surface moisture, then using a primer to improve adhesion, dramatically reduces lifting and chipping. Skipping even one of these steps, especially the dehydrator, is the most common reason gel polish peels away from the cuticle area within days.
Q: Should I cap the free edge of my nails with gel?
A: Yes. Capping the free edge means swiping the base coat, color, and top coat across the very tip of the nail rather than stopping just short of it. The free edge is where gel manicures almost always chip first because it takes the most daily impact. Sealing the tip encases the nail plate fully and prevents moisture and friction from working underneath the gel layers. It adds only seconds to the application process but can extend manicure longevity by several days.
Q: Can you overcure gel polish?
A: Overcuring is possible, particularly with high-wattage UV lamps or extended exposure times. When gel polish is cured too long, the photoinitiators in the formula can cause the gel to become brittle, which increases the likelihood of cracking and chipping. LED lamps cure faster than UV lamps and are generally more consistent, but using a lamp that is mismatched in wattage or wavelength to your specific gel brand can lead to incomplete polymerization at the deeper layers, leaving a tacky, under-cured layer beneath the surface.
This article was written using GrandRanker