 blog
Gel Polish Mistakes at Home: How to Avoid Them
Last Updated: November 4, 2026
Quick Summary
The most common at-home gel polish mistakes are skipping nail prep, applying coats that are too thick, letting gel touch the cuticle, under-curing, and peeling the gel off. Each one weakens the bond between the gel polish and the nail, so avoiding them is what keeps a manicure from lifting or chipping within days.
- Remove dust, oils, and dead skin from the nail before applying any gel.
- Apply two thin coats rather than one thick coat, curing each layer fully.
- Keep gel a few millimeters away from the skin to prevent lifting at the cuticle.
- Check that your lamp matches your gel and turn your hand during curing.
- Soak gel off with acetone instead of peeling or scraping it off the nail.
Table of Contents
- Why Gel Polish Fails at Home: The Most Common Mistakes
- Mistake 1: Skipping Nail Prep and Cuticle Care
- Mistake 2: Applying Coats That Are Too Thick or Uneven
- Mistake 3: Flooding the Cuticle and Sidewalls
- Mistake 4: Curing Too Briefly or With the Wrong Lamp
- Mistake 5: Peeling and Lifting Within Days
- Mistake 6: Removing Gel Polish by Peeling or Scraping
- Booking Your Next Manicure at Coastal Polish & Beauty
- Frequently Asked Questions
Gel polish looks flawless in the salon chair and then lifts, chips, or peels within days of an at-home attempt. The good news is that most failures come from a handful of repeatable mistakes, and each one is easy to fix once you know what to look for. This guide walks through the most common mistakes when applying gel polish at home, why they happen, and how to correct them.
Gel polish needs a clean, dry, lightly prepared nail to bond well. When that foundation is off, even expensive products will struggle. Below, we cover the errors most often seen in at-home applications and give you a practical fix for each one.
Why Gel Polish Fails at Home: The Most Common Mistakes
Most at-home gel failures trace back to the same few causes: poor nail prep, uneven or overly thick coats, product on the skin, incomplete curing, and removing the gel the wrong way. Each one weakens the bond between the gel and the nail plate.
The good news is that you don't need special talent to avoid them. You need patience, the right amount of product, and a consistent routine.
- Poor prep stops the gel from bonding
- Thick or uneven coats trap heat and shift during curing
- Product on the skin causes early lifting
- Under-curing leaves a soft layer underneath
- Forcing the gel off damages the natural nail
Mistake 1: Skipping Nail Prep and Cuticle Care
Prep is where most gel manicures succeed or fail. The gel needs to grip the nail plate, and oils, dust, and dead skin block that grip.
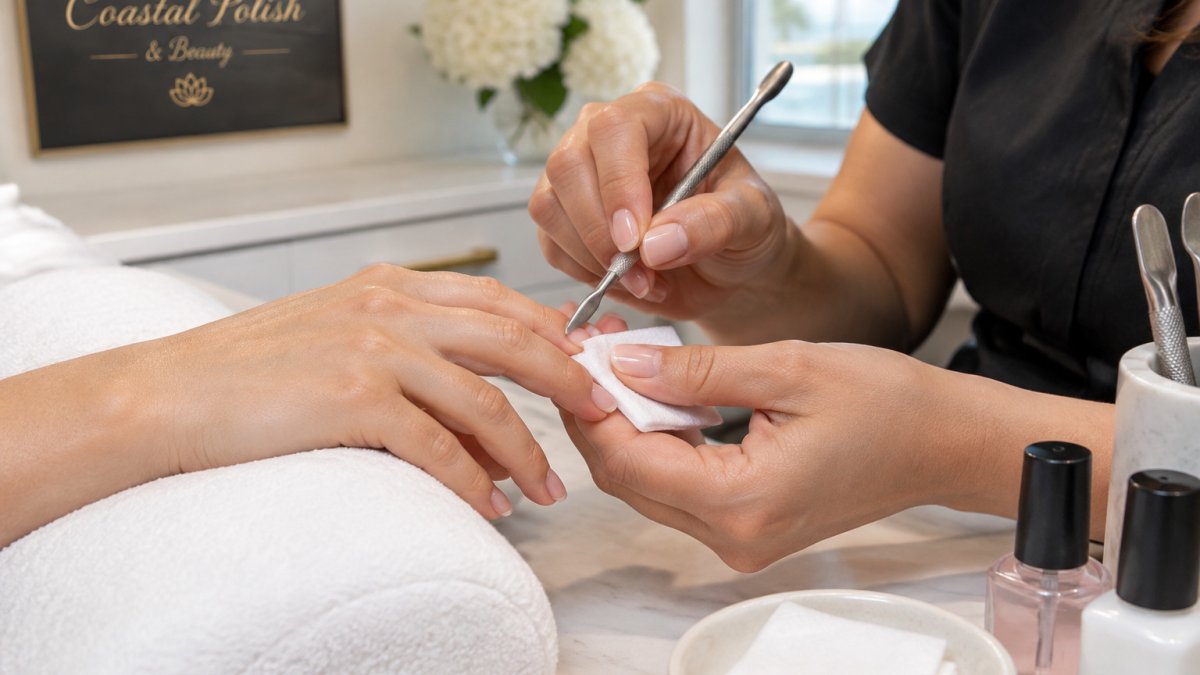
Start by gently pushing back the cuticle with a wooden or orange stick. Trim any loose dead skin, but avoid cutting into living tissue. Lightly buff the surface of the nail to remove the shine, then wipe away the dust with a lint-free pad and a little alcohol or dehydrator.
Watch out: Over-buffing thins the natural nail and can make it sensitive. A light touch is enough.
Mistake 2: Applying Coats That Are Too Thick or Uneven
It's tempting to load up the brush and paint one heavy coat. That usually leads to wrinkling, bubbles, and a gel that cures unevenly. Thin coats cure fully and bond better.
Aim for two thin coats of color rather than one thick one. Keep the brush mostly empty, and brush from the cuticle outward. Make sure you reach the free edge, since gel that stops short of the tip is a common starting point for peeling.
Mistake 2 quick fixes:
- Wipe excess from the brush before each stroke
- Cure each thin layer before adding the next
- Check that the color covers evenly before curing
Mistake 3: Flooding the Cuticle and Sidewalls
Gel that touches the skin will lift the edge of the nail as the skin moves and flexes. That's a primary cause of early chipping near the cuticle and along the sides.
Keep the bead of gel a few millimeters away from the skin. If some gel does touch the cuticle, clean it up before curing using a fine brush or an orange stick. Cure only after the skin is clear.
Mistake 4: Curing Too Briefly or With the Wrong Lamp
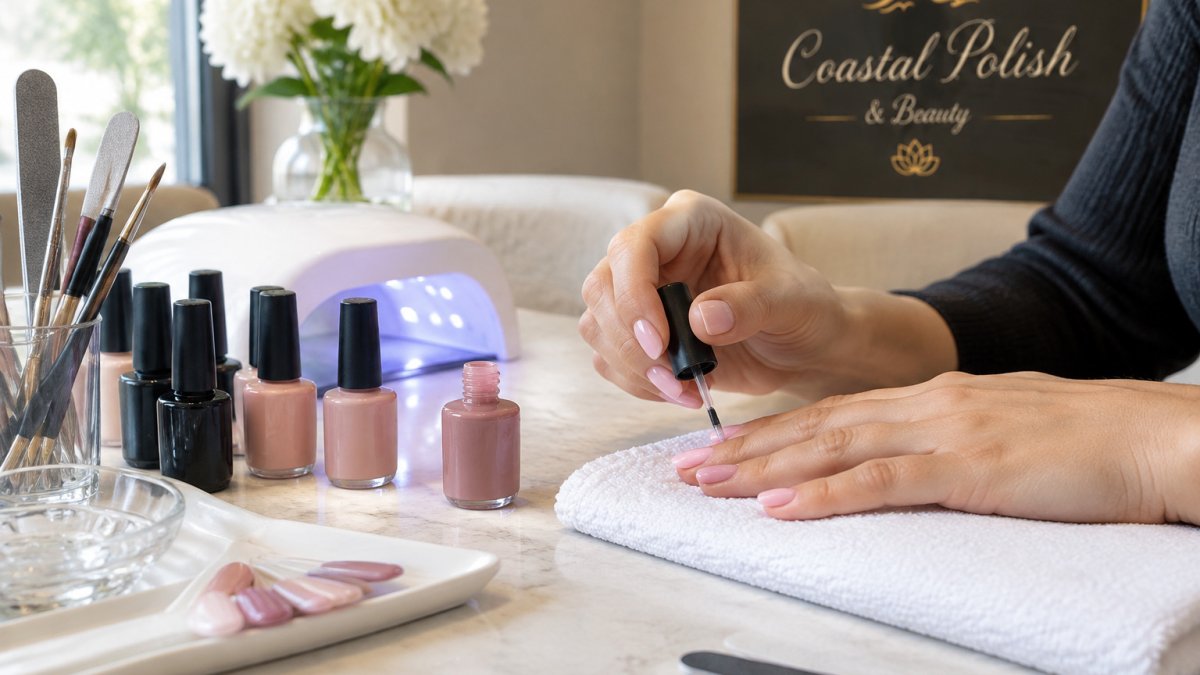
Curing is the step that turns liquid gel into a hard, durable layer, and it is the step most at-home users get wrong without realizing it. If the layer isn't fully cured, it stays soft underneath and will peel off days later, even if the surface feels dry to the touch.
The first issue is lamp compatibility. Gel polish is formulated to cure at a specific wavelength, most commonly in the ultraviolet-A range, and a lamp that does not emit the right wavelength will not fully cure the product no matter how long you leave your hand under it. Check that your lamp and your gel are designed for each other; a lamp sold with one brand's system is not guaranteed to cure another brand's formula. To spot the signs of a cure that has gone wrong, read Signs of Over-Cured Gel Polish on Nails. Wattage matters too, but it is not the whole story: a higher-wattage lamp with poor reflector design can under-cure the sides of the nail while over-curing the center.
Schedule and Appointment today for 10% Off your service →
The second issue is hand placement. Light travels in straight lines and reflects off the lamp's interior, so nails at the edges of the hand and the outer sides of the pinky and thumb often receive less light than the middle fingers. Turn your hand periodically during the cure, and do not let fingers overlap. If your lamp has a removable base or an open design, use it so light reaches the sidewalls.
The third issue is timing. Follow the time on your product's instructions rather than guessing, and remember that many at-home lamps need a longer cure than the manufacturer's salon-unit time. Cure each layer completely before adding the next, including the base coat and the top coat.
Watch out: Do not rely on surface appearance alone to judge a cure. A gel layer can feel hard and glossy on top while remaining uncured underneath, which is why under-cured gel often peels in one flexible sheet rather than chipping. If a cured nail feels tacky after the top coat, or if the gel dents under a fingernail press, it needs more time under the lamp.
Over-curing can also cause problems, including overheating and discomfort, especially with thick coats. If you feel significant heat, remove your hand, let the nail cool, and resume with thinner layers rather than pushing through the burn.
The table below summarises the main curing errors and how to correct them.
| Problem | Cause | Fix |
|---|---|---|
| Layer stays soft underneath | Lamp does not match the gel's wavelength | Use a lamp designed for your gel system |
| Edges of nails under-cured | Light reaches sides poorly | Turn hand periodically and avoid overlapping fingers |
| Surface feels hard but peels later | Cure time too short | Follow the product's cure time, and cure each layer fully |
| Nail feels tacky or dents | Incomplete cure | Cure longer until the gel no longer dents |
| Heat or discomfort during cure | Coats too thick | Remove hand, let cool, and use thinner layers |
Mistake 5: Peeling and Lifting Within Days
Peeling and lifting are the symptoms that tell you something went wrong earlier, and the specific pattern of the failure usually points to the cause. To understand why gel manicures chip early and how to fix them, read our full explanation. Instead of treating every lift the same way, match what you see to what likely happened.
- Lifting at the cuticle or sidewalls: product touched the skin during application, or the cuticle and dead skin were not fully cleared from the nail plate. The gel bonded to skin that flexes and sheds, so the edge releases first.
- Peeling from the free edge: the gel stopped short of the tip, the tip was not sealed with top coat, or water got under the edge during the first day. Cap the free edge with each coat and keep nails dry for the first 24 hours.
- Whole-nail lifting in one flexible sheet: under-curing is the usual cause. The gel never fully hardened, so it releases as a unit rather than chipping. Recheck lamp compatibility and cure time before your next application.
- Wrinkling or bubbling during cure: coats were too thick, or the product was applied over an incompletely cured layer. Thin coats and a full cure between layers prevent this.
- Dull or dented top coat: the top coat was under-cured, or it was applied too thin and wore through. A second thin top-coat layer, fully cured, restores the shine.
- Chipping in the middle of the nail: the natural nail was over-buffed or too flexible for the gel system, or the base coat was skipped. A light buff is enough; heavy buffing thins the nail and weakens the bond.
To prevent lifting in the first place, keep the nail dry and avoid hot water or harsh chemicals during the first 24 hours. For a full set of prevention steps, see our expert guide. Wear gloves for dishwashing and cleaning, and avoid picking at the edges. Treat the nail's tip with a thin layer of top coat every few days to seal the free edge.
If a single nail has lifted, you can often repair it by cleaning under the lifted area, adding a small amount of gel to seal the edge, and curing it. Our guide on how to repair a chipped gel nail at home walks through the full process. Don't pull off a lifted piece, since that tears the natural nail. If several nails lift in the same pattern, the cause is often in your prep or cure routine rather than in the product itself, so fix that step before your next full application.
Mistake 6: Removing Gel Polish by Peeling or Scraping
This mistake does the most lasting damage. Peeling gel off or scraping it with a tool can strip the top layers of the natural nail, leaving it thin, weak, and rough.
The safer approach is to soak off gel. File the top shine off the surface, soak a cotton pad in acetone, place it on the nail, and wrap the fingertip in foil for about 10 to 15 minutes. Then gently push the softened gel away with an orange stick. Moisturize afterward, since acetone dries the skin and nails.
If the gel doesn't release easily, give it more soak time rather than forcing it.
Booking Your Next Manicure at Coastal Polish & Beauty
Gel polish at home can look beautiful when prep, coat thickness, skin control, curing, and removal are handled with care. If you'd rather skip the trial and error, the team at Coastal Polish & Beauty in Newport Beach can take care of it for you in a clean, relaxed setting. Book your next visit with us and let us handle the details.
Frequently Asked Questions
Why does my gel polish peel off after one day?
Peeling within a day usually comes from one of three causes: the nail plate was oily, dusty or not fully dehydrated, the cuticle or sidewalls were not cleaned, or the gel was applied too thick and cured unevenly. Start by checking how carefully you prepped and whether you sealed the free edge with each layer. Gel adheres best to a clean, lightly buffed surface, so a quick wipe with alcohol or cleanser before base coat often makes a noticeable difference on the next set.
How long should you cure gel polish at home?
Curing time depends on your lamp wattage and the brand of gel, so always follow the manufacturer's instructions for your specific lamp and product. Most at-home LED lamps need roughly 30 to 60 seconds per thin coat, while older UV lamps often require two minutes or more. Curing each layer fully before adding the next is what keeps the finish hard and prevents lifting or wrinkling.
How can I remove gel polish without damaging my nails?
Avoid peeling or scraping gel off, since this can strip layers of the natural nail plate. Instead, gently buff the top coat to break its seal, then soak a cotton pad in acetone and wrap each nail in foil for about 10 to 15 minutes. Once the gel softens, push it off with a cuticle pusher, then rehydrate your nails and cuticles with oil.
Can gel polish damage your natural nails?
Gel polish itself is not usually the problem; damage typically comes from over-buffing the nail plate, peeling off layers, or removing gel without care. Keeping buffing light, removing product properly and giving your nails a few days without polish between sets helps protect nail health over time.