 how-to
How to Choose the Right Gel Base Coat
Table of Contents
- What a Gel Base Coat Does
- Gel Base Coat vs. Top Coat and Builder Gel
- Types of Gel Base Coats: Rubber Base, Builder Base, and Standard Options
- Choosing a Gel Base Coat for Weak or Flexible Nails
- Adhesion, Lifting, and Wear Time: What to Look For
- How to Apply Gel Base Coat for Maximum Durability
- Troubleshooting Common Problems and Safe Removal
- Frequently Asked Questions
Last Updated: October 12, 2026
What a Gel Base Coat Does
A gel base coat is a foundational layer applied directly to the natural nail before gel polish color. It creates adhesion between your nail plate and the colored polish, preventing lifting and peeling while extending wear time to three to four weeks.
Think of it as the anchor that holds everything in place. Without a proper base coat, gel polish sits loosely on your nail and lifts at the edges within days. The base coat bonds to your nail plate through a chemical process that happens during curing under UV or LED light.
Choosing the right base coat is often the difference between a manicure that lasts three weeks and one that chips after five days. The base coat does more than stick polish to nails, it protects your natural nail from staining, dehydration, and damage from the removal process.
Different base coats offer different benefits. Some strengthen weak nails. Others provide extra flexibility for active hands. Some cure faster. Understanding what each type does helps you pick the one that matches your nail health and lifestyle.
Gel Base Coat vs. Top Coat and Builder Gel
Many people confuse these three products, but they serve completely different purposes.
A top coat seals your gel polish and adds shine. It goes on last, after your color, and cures to create that glossy finish. Without a top coat, your color looks dull. A top coat also protects your design from chipping and extends wear time by a few days.
A builder gel is thicker than a base coat. It adds structure and volume to nails, building them up to create length or fill in gaps. Builder gel is used primarily for nail extensions or when you need to strengthen and thicken the entire nail. It's not meant to go directly on the nail plate like a base coat.
A gel base coat is thin and bonds directly to your natural nail plate. It's designed for adhesion and protection, not volume. You apply it first, cure it, then apply color on top.
Here's the key difference: base coat creates the bond, builder gel creates structure, and top coat creates shine and protection. You need all three for a complete gel manicure, base coat first, color in the middle, top coat last. Skipping any step compromises the final result.
Types of Gel Base Coats: Rubber Base, Builder Base, and Standard Options
Not all gel base coats are the same. The main types differ in thickness, flexibility, and intended use.
Rubber base coats have a flexible, stretchy formula. They're ideal if you have active hands, bend your nails frequently, or work in jobs that put stress on your manicure. Rubber base absorbs impact and flexes with your nail movement rather than cracking.
Builder base coats are thicker and stiffer than standard base coats. They add structure while bonding to your nail. Builder base works well if you have very weak, bendy nails or if you want extra durability. It's closer to a builder gel in consistency but still functions as a base coat.
Standard gel base coats are the middle ground, thin enough to apply smoothly but thick enough to provide good adhesion and some protection. They cure quickly and work for most nail types. If you're not sure which type to choose, a standard base coat is usually the safest starting point.
Dehydrators and primers are often used before base coat. A dehydrator removes moisture from your nail plate so the base coat bonds better. A primer creates a slightly sticky surface for adhesion. Some base coats have primer built in. Others require a separate primer step.
The viscosity, how thick or thin the formula is, matters more than the name on the bottle. Thicker formulas provide more structure but can be harder to apply evenly. Thinner formulas are easier to brush on but offer less protection. Your nail type and the condition of your natural nails should guide your choice.
Choosing a Gel Base Coat for Weak or Flexible Nails
If your nails bend easily, tear, or feel paper-thin, a standard base coat won't give you the support you need.
For weak nails, choose a builder base coat or a rubber base coat with added strength. These formulas are thicker and more forgiving. They support your nail as it grows out and protect against breakage during the removal process.
Flexible nails need a different approach. If your nails bend without breaking, they need flexibility rather than rigidity. A rubber base coat is your best choice here. It stretches with your nail movement instead of cracking under pressure. This matters especially if you use your hands actively, typing, exercising, gardening, or manual work.
Some people have nails that are both weak and flexible. In that case, look for a builder base with rubber properties. These hybrid formulas add structure while still allowing movement. Apply a slightly thicker layer than you would with a standard base coat, this gives extra reinforcement without making application difficult.
The key is matching the formula to your nail behavior. Rigid base coats work for strong, stable nails. Flexible bases work for nails that move. Thick, reinforced bases work for nails that need support. Mismatching the formula to your nail type is one of the most common reasons manicures fail early.
Adhesion, Lifting, and Wear Time: What to Look For
Lifting, when gel polish peels away from the nail edge, is the number one complaint with gel manicures. It happens when the base coat doesn't bond properly to your nail plate.
Good adhesion depends on three things: nail preparation, base coat quality, and application technique. You can control all three.
Schedule and Appointment today for 10% Off your service →
Nail preparation is critical. Your nail plate must be clean, dry, and slightly roughed up. File your nails, push back your cuticles, and wipe your nails with a dehydrator or rubbing alcohol. Even a tiny bit of oil or moisture prevents the base coat from bonding.
Base coat quality matters. Cheap base coats have weak bonding agents. Premium base coats from established brands have stronger adhesion formulas. You don't need the most expensive option, but you do need one specifically designed for adhesion, not just any gel product.
Application technique is where most people go wrong. Apply a thin, even layer, not thick and gloppy. Thick layers cure unevenly and don't bond as well. Cover the entire nail plate and seal the free edge by brushing the base coat slightly over the edge of your nail. This prevents the polish from lifting from underneath.
Wear time depends on all three factors plus one more: the flexibility of your formula. A rigid base coat on strong nails might last four weeks. The same base coat on flexible nails might lift after two weeks because the formula can't move with your nail. Match your formula to your nail type, and you'll see the full wear time the product promises.
How to Apply Gel Base Coat for Maximum Durability
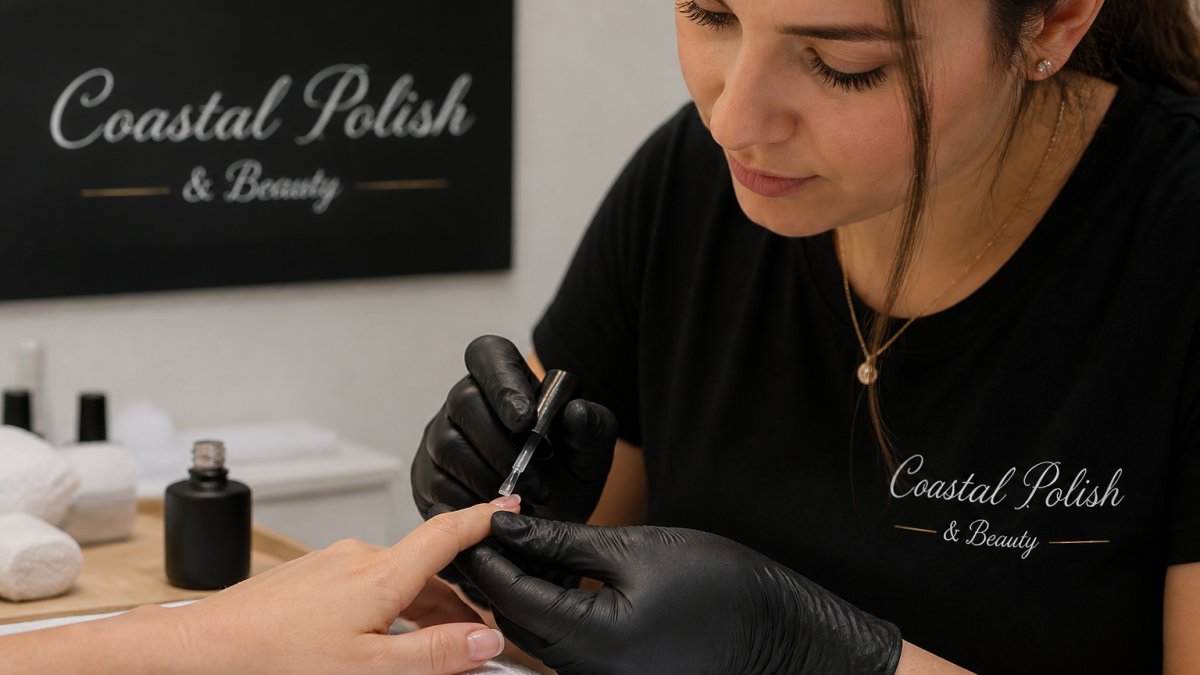
The way you apply your base coat determines whether your manicure lasts three weeks or three days.
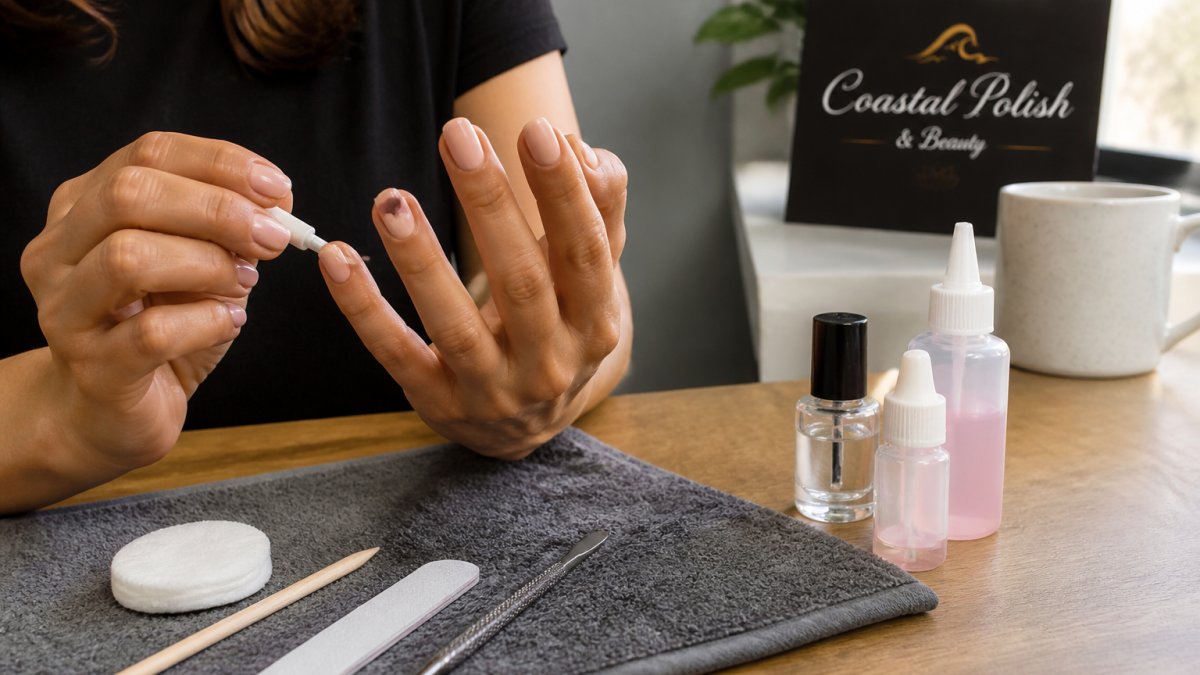
Step 1: Prepare your nails properly. File your nails into your desired shape. Push back your cuticles gently. Buff the nail plate lightly with a nail file to remove shine and create texture for adhesion.
Step 2: Apply a thin, even layer. Dip your brush into the base coat. Tap off excess product on the bottle edge so you're not applying a thick glob.
Step 3: Avoid touching the tacky layer. After you apply the base coat, don't touch your nails. Even a tiny bit of skin contact can interfere with curing. Keep your hands still while the base coat cures.
Step 4: Cure according to instructions. Most gel base coats cure in 30-60 seconds under an LED lamp or 2-3 minutes under a UV lamp. Check your product's specific curing time. Under-curing leaves the base coat tacky and weak.
Step 5: Wipe the inhibition layer. Many gel base coats leave a sticky residue called the inhibition layer after curing. Wipe it with a lint-free wipe and rubbing alcohol or a cleanser designed for gel products.
The entire process takes three to five minutes. Rushing through any step compromises adhesion and wear time. Take your time with preparation and application, and your manicure will last.
Troubleshooting Common Problems and Safe Removal
Even with the right base coat and proper application, problems sometimes happen. Here's how to fix the most common issues.
Lifting at the edges: This means your base coat didn't bond properly. Check your nail preparation, were your nails completely dry? Did you buff them? Did you use a dehydrator? Lifting usually points to skipped preparation steps.
Peeling or chipping in the middle of the nail: This suggests your base coat layer was too thick or cured unevenly. Apply thinner coats next time. Thinner layers cure more evenly and bond better than thick ones.
Nails feeling weak or brittle after removal: This means your removal process was too harsh. Gel removal requires soaking, not scraping. Soak your nails in acetone for 10-15 minutes to soften the gel, then gently push it off with a cuticle pusher.
Allergic reaction or irritation around the cuticle: This can happen if gel base coat contacts your skin during application or curing. Gel products can cause contact dermatitis in sensitive people.
Yellowing of natural nails: Some base coats can stain nails over time, especially if you don't use a proper base coat or if your nails are very porous. A quality base coat prevents staining.
Safe removal is just as important as proper application. Never peel, pick, or file gel polish off aggressively. Soak-off removal takes longer but protects your nails. Some salons offer file-off removal, which is faster but more damaging if done incorrectly.
| Problem | Likely Cause | Solution |
|---|---|---|
| Lifting at edges | Poor nail prep or weak adhesion | Improve dehydration and cuticle prep; try a stronger base coat formula |
| Peeling mid-nail | Base coat too thick or uneven cure | Apply thinner layers; ensure full curing time |
| Weak nails after removal | Harsh removal technique | Use soak-off method; avoid scraping or aggressive filing |
| Skin irritation | Base coat contact with skin | Apply carefully away from cuticle; use barrier if needed |
| Nail staining | Low-quality base coat | Switch to premium base coat; use protective layer |
Choosing the right gel base coat comes down to understanding your nails and matching the formula to your needs.
Frequently Asked Questions
What is the difference between a gel base coat and a rubber base coat?
A standard gel base coat is a thin, flexible layer that adheres polish to the nail plate and cures under UV or LED light. A rubber base coat contains added polymers that create extra grip and flexibility, making it ideal for weak, brittle, or short nails that need reinforcement. Rubber bases are thicker, stickier, and provide more cushioning, they're especially useful if your nails tend to peel or lift before the manicure ends.
How should I apply gel base coat to prevent lifting and chipping?
Start with a clean, dehydrated nail plate, push back cuticles and remove oils with a nail dehydrator or primer. Apply a very thin, even layer of base coat, leaving a tiny margin from the cuticle and edge to prevent contact with skin. Cure fully under your lamp (usually 30-60 seconds depending on the product). Avoid thick coats; thin, multiple layers bond better than one heavy coat. Proper curing and staying slightly away from the edges are the biggest factors in preventing lifting.
Can I use any gel base coat with any gel polish?
Most gel base coats work with most gel polishes, but compatibility matters. Check the brand's recommendations, some gel polishes are formulated to work best with matching base and top coats from the same line. If you're mixing brands, test on one nail first. Viscosity (thickness) also matters: thick base coats pair better with flexible nails, while thin bases work for strong nails. If your manicure chips or lifts quickly, an incompatible base coat is often the culprit.
Is gel base coat supposed to be tacky after curing?
Yes. Most gel base coats leave a sticky, tacky layer after curing, this is called the inhibition layer, and it helps the next layer of polish bond securely. Some base coats are less tacky than others. If your base coat feels completely dry and non-sticky, it may not cure properly or may not grip your color polish well. A light tackiness is normal and desired; it's what helps your manicure last the full 3-4 weeks.