 how-to
Can Intricate Nail Art Actually Last More Than a Week?
Last Updated: November 2, 2026
Quick Summary
To maintain intricate nail art, prep the nail plate properly, apply thin layers, and cap the free edge with every coat. Then protect the design daily: apply cuticle oil to the skin only, wear rubber gloves for chores, and reapply a thin top coat every 48 to 72 hours to carry fine line work past day five.
- Wipe each nail with prep solution or rubbing alcohol and skip hand cream before painting.
- Cap the free edge with every layer so water cannot seep under the design.
- Apply cuticle oil twice daily on days 2 and 3, and moisturize after every hand wash.
- Reapply a thin layer of the same top coat every two to three days over detail work.
- Remove rather than repair when lifting reaches the cuticle line or discoloration appears.
Table of Contents
- How to Make Nail Art Last Longer: Prep First, Design Second
- How to Prevent Nail Polish From Chipping Around Fine Details
- Nail Art Tools That Keep Detailed Designs Crisp
- How to Maintain Intricate Nail Art at Home Between Appointments
- Protecting Raised Embellishments, Chrome, and Matte Finishes
- Repair or Remove? What to Do When a Detail Fails
- Book a Maintenance Visit at Coastal Polish & Beauty
- Frequently Asked Questions
How to Make Nail Art Last Longer: Prep First, Design Second
Intricate nail art often fails early, and the design is rarely the reason. The culprit is usually the surface underneath it. If you want to know how to maintain intricate nail art, start before the first brush touches your nail.
Nail preparation is the step people skip, and it is the step that decides everything.
Cleaning the Nail Plate Before Anything Else
Old polish, natural oils, and hand cream all block adhesion. A clean base is not optional.
- Remove all old polish with acetone and a lint-free pad
- Wipe each nail with a nail brush and mild soap
- Dry fully, then swipe with a prep solution or rubbing alcohol
Watch out: even a trace of oil on the nail plate can cause top coat to peel within days, and no design survives that.
Base Coat, Thin Layers, and Curing Time
Thin layers beat thick ones every time. Thick polish traps solvent underneath, which leads to smudging and lifting.
- Apply one thin base coat and cap the free edge
- Build color in two or three thin coats, not one heavy coat
- Keep each layer even and let it dry before the next
Drying time matters as much as application. Rushing the top coat is one of the most common nail-art mistakes we see.
How to Prevent Nail Polish From Chipping Around Fine Details
Chipping starts at the edges of detail work, not in the middle of a design.
The fix is structural. Cap the free edge with every layer so water cannot seep under the design.
A common mistake is adding fresh polish over a chipped edge without prepping it. That traps air and lifts the repair within a day.
Nail Art Tools That Keep Detailed Designs Crisp
The right tools protect a finished design as much as they create it.
| Tool | What It Does | When to Use It |
|---|---|---|
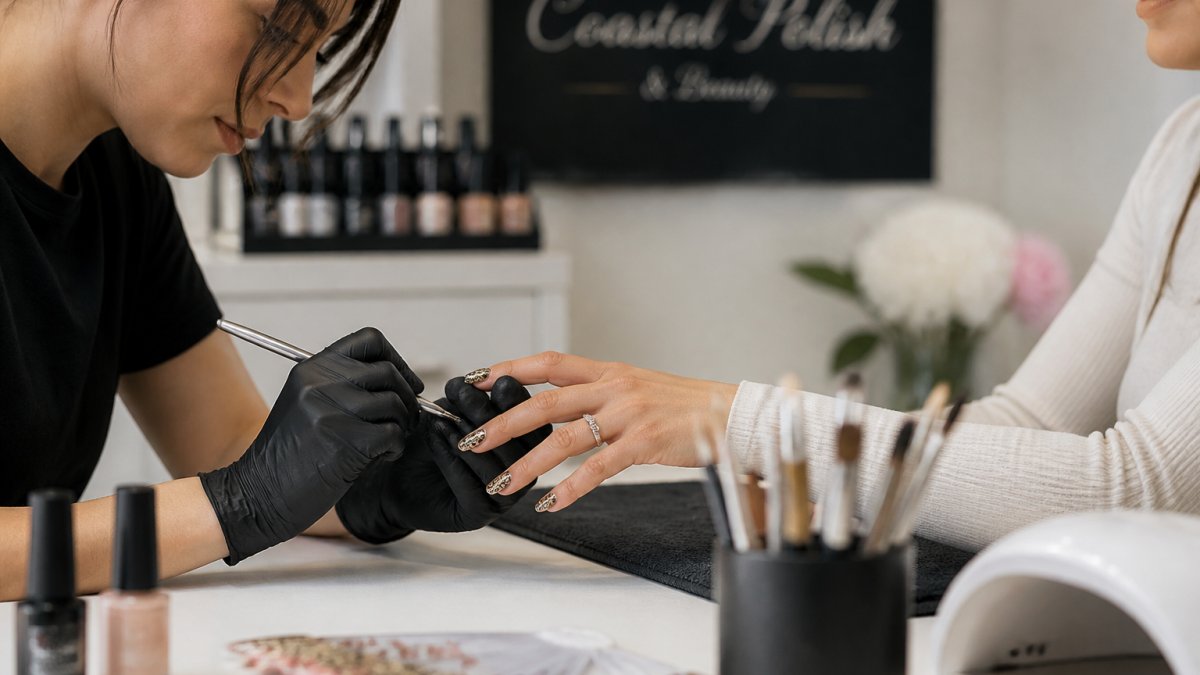
| Detail brush | Paints fine lines and crisp edges | During application |
| Dotting tool | Places small dots and embellishments | During application |
| Fine-grit nail file | Smooths edges without splitting | Prep and touch-ups |
| Nail brush | Clears dust and residue | Before every coat |
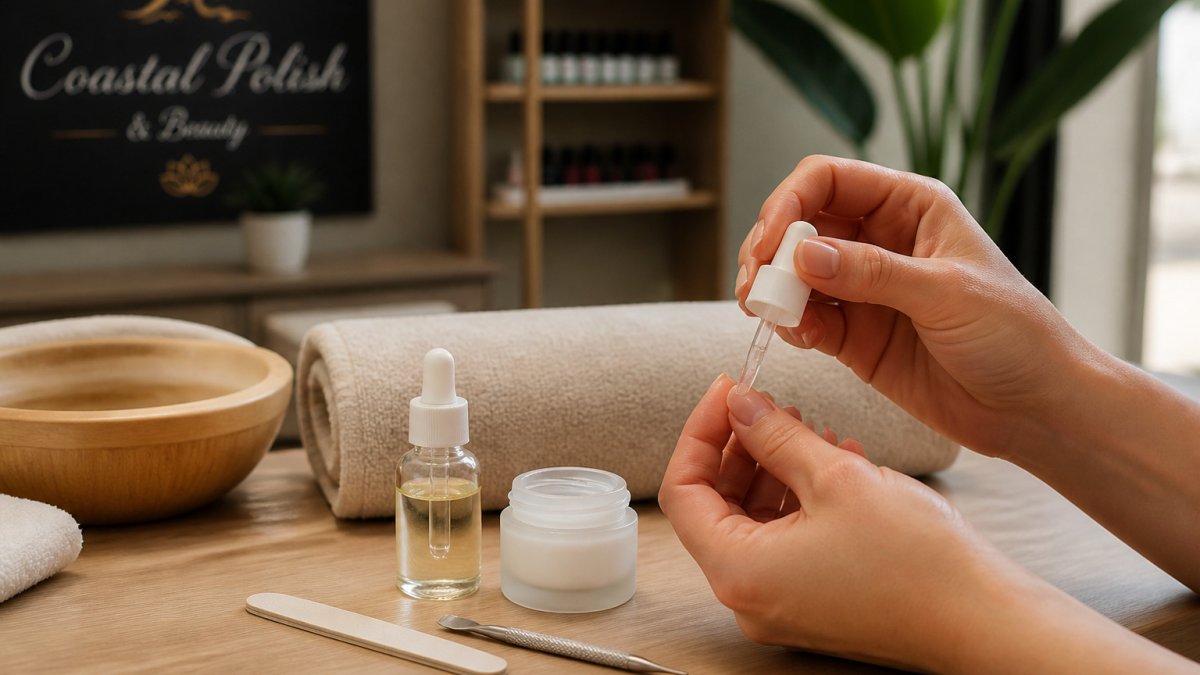
| Cuticle oil pen | Targets hydration without flooding | Daily aftercare |
| Rubber gloves | Blocks water and cleaning supplies | Household chores |
How to Maintain Intricate Nail Art at Home Between Appointments
Daily habits decide whether a detailed design reaches week two. The routine below outlines general aftercare habits that help nail art last.
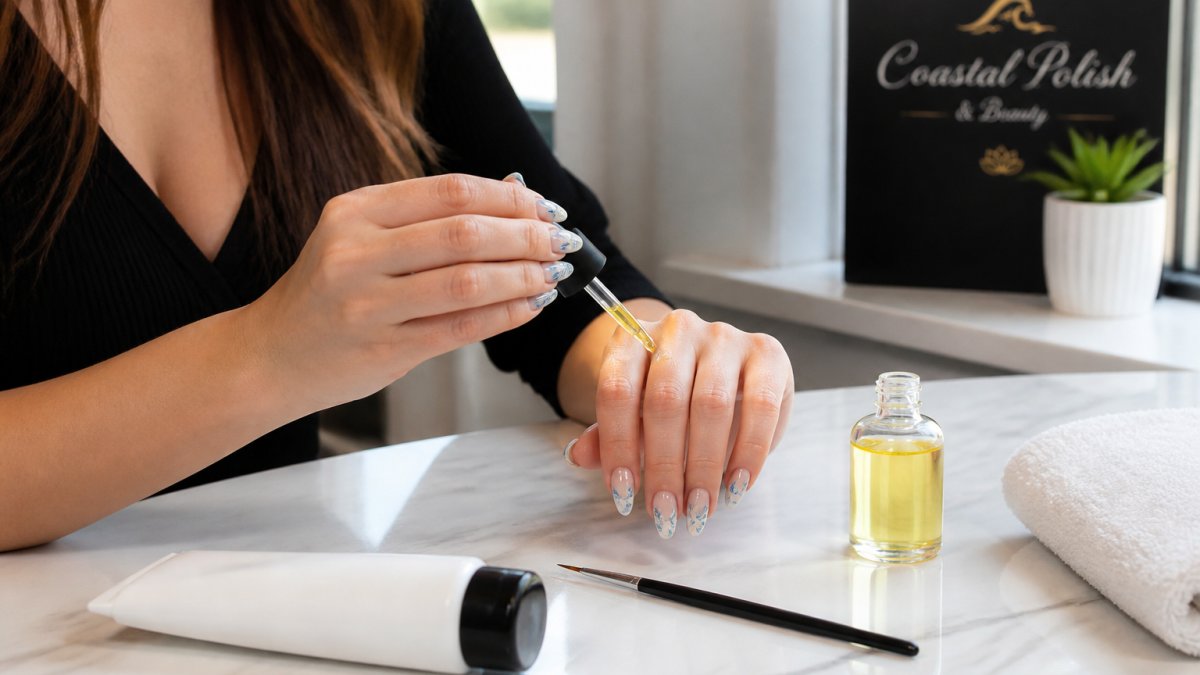
A Day-by-Day Aftercare Routine
- Day 1: Keep hands dry for a few hours. No long soaks, no dishwashing.
- Day 2-3: Apply cuticle oil twice daily. Avoid hot water and long soaks.
- Day 4-5: Moisturize with hand cream after every hand wash. Wear rubber gloves for cleaning and dishwashing.
For a product that keeps cuticles conditioned between visits, see our guide to the best cuticle oil for long lasting manicures. And if you want a broader routine for nail strength and hydration, our article on how to maintain healthy nails between salon visits covers it.
Protecting Raised Embellishments, Chrome, and Matte Finishes
A single routine will not protect every finish. The care that keeps a matte top coat looking matte will dull a chrome powder, and the care that keeps a rhinestone secure will lift a decal. Match the maintenance to the material.
Regular Polish With Fine Line Work
Regular lacquer stays slightly flexible, so fine lines survive nail flex better than gel lines do, but they dissolve faster in solvent. Keep acetone and non-acetone remover away from the design except during full removal, and do not use a quick-dry drop on top of detail work, the solvent in those products can bleed thin lines.
Gel and Builder Gel Designs
Gel is rigid once cured, so the failure mode is lifting at the edge, not smudging. The enemy is uncured inhibition layer left under a thick detail, it traps solvent and peels from underneath. Keep gel away from prolonged hot water for the first 24 hours, since heat softens the cured layer and lets water wick under the free edge.
Acrylic and Hard-Gel Extensions
Acrylic is porous at the surface and absorbs oils and lotions, which is why detailed paint on acrylic can fade faster than on natural nails. Wipe the design with a dry lint-free pad after hand cream, and avoid oil-based cuticle products directly on the painted surface. Acrylic also shrinks slightly as it cures, so a design applied the same day as the extension is more likely to crack at the stress point, a common pattern is to schedule detailed art 24 hours after the extension is built.
Schedule and Appointment today for 10% Off your service →
Press-Ons and Decals
Press-ons and water-transfer decals fail at the adhesive line, not the design. Keep the edges dry for the first hour after application, and never soak press-ons in warm water, the adhesive softens and the whole nail lifts. For decals, seal the edges with a thin top coat and avoid alcohol-based hand sanitizer directly on the decal, which dissolves the transfer film.
Chrome, Foil, and Metallic Powders
Chrome and foil are surface films, not cured layers. They lose shine from friction and oil, so wipe them gently with a dry microfiber cloth rather than a paper towel, and keep hand cream off the metallic area. Abrasive pads, nail brushes, and even a rough dish towel will scratch the film. A water-based top coat over chrome preserves shine longer than a solvent top coat, which can dull the mirror finish.
Matte Top Coats
Matte finishes turn glossy wherever oil or cream sits too long. Apply cuticle oil to the cuticle and sidewalls only, not the nail surface, and blot, do not rub, any cream that lands on the design. Matte top coat also wears thin at the free edge first, so a touch-up of matte top coat at the tip every few days keeps the finish even.
Raised Embellishments, Charms, and 3D Details
Raised elements catch on hair, clothing, and zippers, and the snag is what loosens them. Keep them away from hot water, which softens the gel or acrylic holding them, and never pick at a loose piece, picking lifts the base layer with it.
Watch out: a loose charm that is pressed back down without cleaning the underside traps moisture against the nail plate, which is how discoloration and infection start.
Repair or Remove? What to Do When a Detail Fails
A small chip does not mean the whole manicure is done, but the wrong repair turns a cosmetic flaw into a nail-plate problem. Decide based on where the failure is and what material you are working with.
Diagnose the Cause Before You Touch It
Match the symptom to the likely cause so the repair does not repeat the failure.
- Lifting at the free edge: usually under-capping, the top coat did not wrap the tip, so water wicked under the design.
- Lifting in the center of the nail: often oil or cream left on the plate before application, or a base coat that does not match the polish system.
- Smudging after curing: for gel, an under-cured layer; for regular polish, a thick coat that trapped solvent.
Safe Repair for a Small Chip or Lifted Edge
- Clean the area with a lint-free pad and a small amount of rubbing alcohol; let it dry fully.
- If the edge is lifted, file it down gently with a fine-grit file, do not pull or peel it, which takes natural nail layers with it.
- Apply a thin coat of the same base system over the exposed area, then rebuild the detail with a detail brush.
- Seal with a thin top coat and cap the free edge.
- Keep the nail dry for a few hours after the repair.
For gel, do not add fresh gel over an uncured or lifted layer, the new layer will lift with the old one. A spot repair on gel usually means filing back to sound gel, applying a thin builder layer, and re-curing fully.
When Removal Is the Safer Choice
Remove rather than repair when:
- Lifting spans several nails or reaches the cuticle line, where water and bacteria collect.
- You see green, dark, or yellowish discoloration under the design, that is a sign of moisture trapped against the plate, and the nail needs to be exposed and allowed to dry.
- The natural nail is visibly thin, peeling, or painful.
For gel and acrylic, removal means soaking in acetone or filing off the product, do not pry it up. For press-ons, warm soapy water and a cuticle stick at the edge are safer than pulling.
Watch out: never glue or press a lifted embellishment back down without cleaning the underside first, trapped moisture under a raised detail is how nail infections start.
For step-by-step help, our guide on how to repair a chipped gel nail at home walks through the fix. If the damage is broader, read what to do if your manicure is damaged for the full plan.
Book a Maintenance Visit at Coastal Polish & Beauty
Detailed designs hold up best with regular professional maintenance. At Coastal Polish & Beauty, Our expert technicians use premium products and focus on personalized care in our newly renovated space inside the Birdhouse wellness collective. Book an appointment and keep your nail art looking crisp.
Frequently Asked Questions
How often should I apply a top coat to intricate nail art?
A thin layer of top coat every two to three days keeps the seal intact, especially on designs with multiple layers of polish. Wipe the nail with a lint-free pad first so oil and hand cream don't stop the new coat from bonding. Skip this on chrome, matte, or raised embellishments, since a fresh top coat can dull the finish or soften glue. For those designs, ask your technician which refresh product suits the finish.
Can you use cuticle oil on intricate nail art?
Yes, and you should. Cuticle oil keeps the natural nail and surrounding skin flexible, which reduces peeling and lifting at the edges. Apply it with a brush and keep it on the skin and cuticle line rather than flooding the design. On matte finishes, use a small amount and blot the excess so the texture stays even. Daily hydration is one of the simplest ways to maintain intricate nail art between salon visits.
Why does nail art peel or lift?
Most lifting starts at the edges. Oil or residue left on the nail plate, layers applied too thick, or water trapped under a lifted corner all cause the design to separate from the natural nail. Hot water, long soaks, and cleaning without gloves speed this up. If a corner lifts, resist picking it. Blot it dry and book a repair rather than peeling the whole design off, which can take layers of the nail plate with it.
How can I prevent detailed nail designs from chipping?
Wear rubber gloves for dishwashing and cleaning, keep layers thin during application, and seal free edges with a top coat. Avoid using your nails as tools to open packaging or scrape labels. A structured gel or builder layer under detailed designs adds strength without hiding the artwork. If a chip appears, a quick touch-up at the salon can help protect the detail work you have invested in.
Your intricate nail art deserves more than a week. If home care is not enough, let us help. At Coastal Polish & Beauty, we offer personalized manicures, expert nail enhancements, and a clean, calm space to relax and recharge. Get started with Coastal Polish & Beauty and book your next maintenance visit today.